Making a Dr. Seuss hat pinata is a fun and creative way to bring some whimsy to your next party or celebration. This colorful pinata is inspired by the iconic hat worn by the beloved author and illustrator, Dr. Seuss. In this post, I’ll guide you through the process of making your very own Dr. Seuss hat pinata that will be the hit of the party.
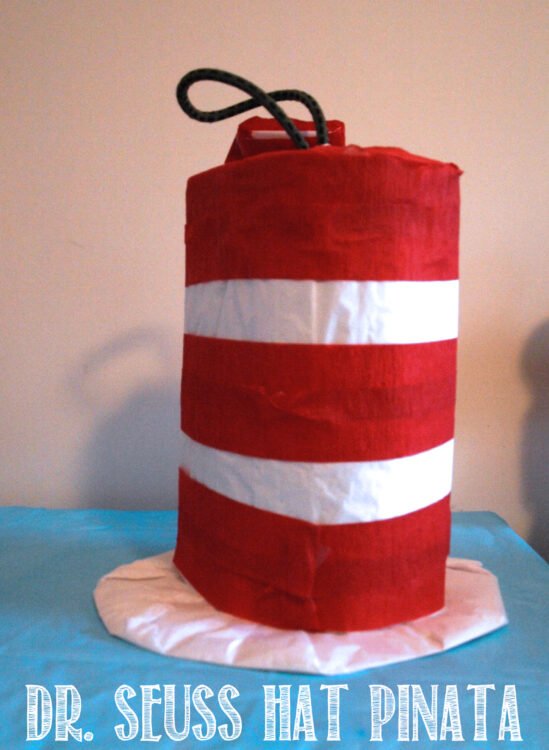
Here’s what you’ll need to get started:
- A large round balloon
- Newspaper or tissue paper
- White glue or paper mache paste
- Scissors
- Red, white, and black crepe paper
- A pencil
- String or twine
- Candy or small toys for filling the pinata
- Optional: paint and paintbrushes
Step 1: Inflate the balloon to the desired size for your pinata. You can make it as big or as small as you like, depending on the size of your party and the amount of candy or toys you want to fill it with.
Step 2: Tear or cut newspaper or tissue paper into small strips. Mix equal parts of white glue and water in a bowl to make your paper mache paste.
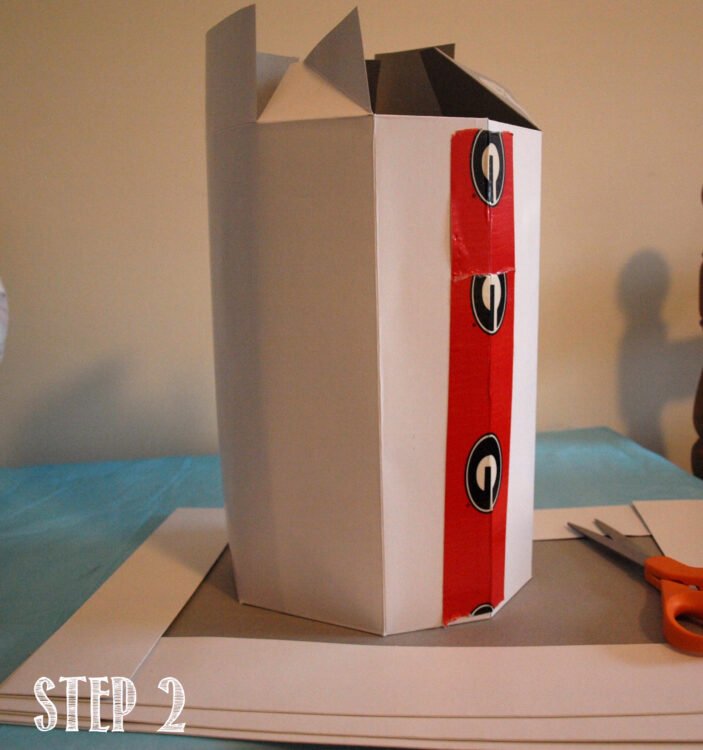
Step 3: Dip each strip of paper into the glue mixture and smooth it onto the balloon. Cover the entire surface of the balloon with at least three layers of paper mache, allowing each layer to dry completely before adding the next.
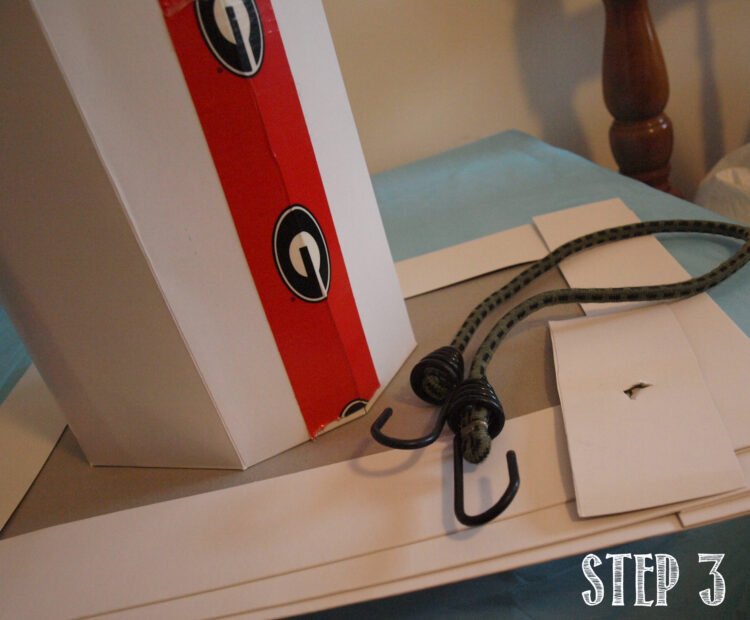
Step 4: Once the paper mache is completely dry, use scissors to carefully cut a small hole in the top of the balloon. Remove the balloon from inside the pinata.
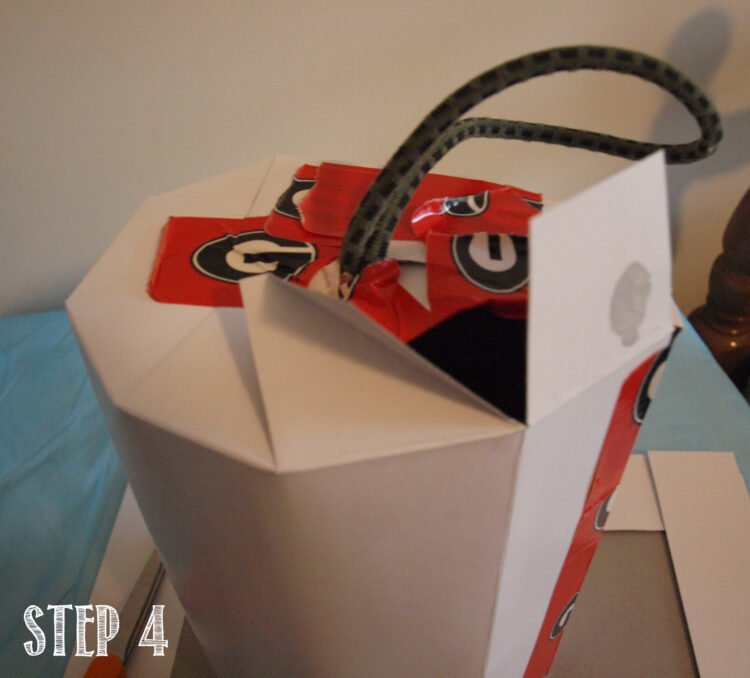
Step 5: Draw the outline of the Dr. Seuss hat onto the pinata using a pencil. You can use a reference image online to help guide you.
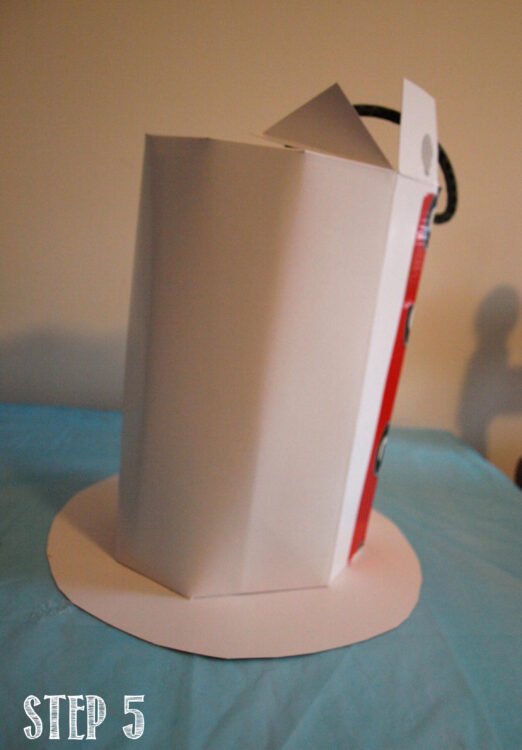
Step 6: Cut long strips of red, white, and black crepe paper. Starting at the bottom of the hat, glue the red crepe paper strips onto the pinata, overlapping them slightly as you go. Continue with the white and black crepe paper, alternating colors until you reach the top of the hat.
Step 7: Cut a long piece of string or twine and tie it securely through the hole at the top of the pinata. This will be used to hang the pinata.
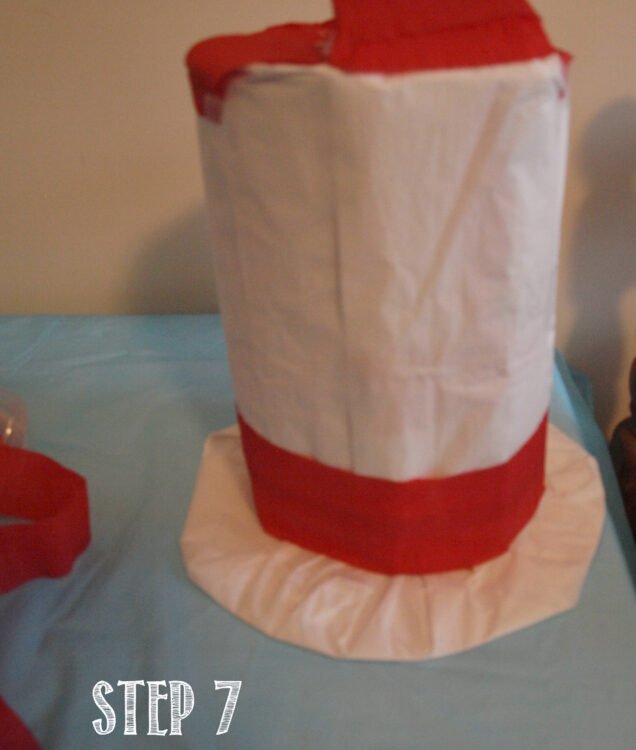
Step 8: Fill the pinata with candy or small toys through the hole at the top. Once it’s filled, carefully seal the hole with more paper mache and allow it to dry.
Step 9: Optional: Once the pinata is completely dry, you can paint on additional details such as stripes, polka dots, or other decorative elements.
And there you have it – a whimsical Dr. Seuss hat pinata that is sure to be the highlight of any party or celebration. Enjoy the fun and excitement of breaking open the pinata to reveal the treasures inside!
