Baymax Pinata
Are you looking for an easy DIY Big Hero 6 Decoration Idea? Consider making your very own Baymax Pinata. This step-by-step guide will show you how to make your very own Baymax pinata that’s perfect for birthdays, movie nights, and more. Get ready for a smashing good time with this DIY project that’s sure to be a hit with both kids and adults alike.
What you Need:
– White Cardboard box (Christmas Gift Boxes work best)
– Scissors
– Pencil
– Packaging Tape
– Bungee Cord
– White, Red Tissue paper
– Black Cardstock
How to Make:
1. First make sure your white cardboard gift box has a top and bottom and they are both laying flat.
2. Draw your Baymax oval head.
3. Cut out your Baymax head. You will have 2 pieces, one for the front and the other for the back.
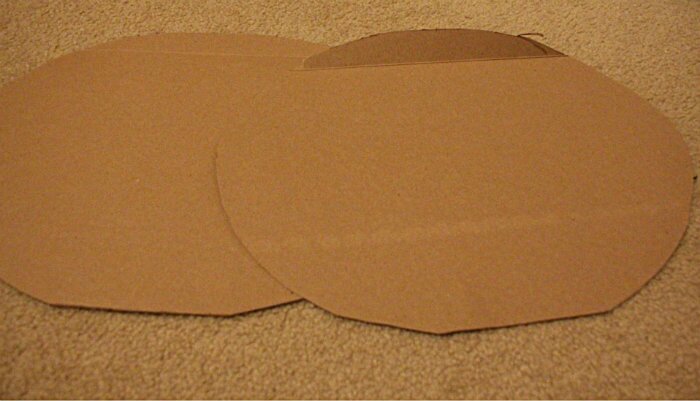
4. Use the ends of the boxes and cut them into strips. These are your sides.
5. Take your bungee cord and slip it through 3-4 extra pieces you have left from cutting out Baymax head. Secure with packaging tape.
6. Tape your bungee cord section to the front and back of Baymax head. Make sure you have this in the top center of the pinata.
7. Start from one side to the other and secure with packaging tape all the way around Baymax pinata. Make sure you leave an opening to put in your goodies later.
8. Cover the Baymax Pinata with white tissue paper and secure with tape.

If you are doing just the white Baymax below is what you will do if not and you want to do the red helmet baymax go to step 10.
9. Take one sheet of white tissue paper and cut in half. You will then take each half and fold that in half long ways. Then fold into 1/3 about the width of the Baymax Pinata side and secure on the sides with tape. repeat until the entire pinata is covered.
10. Cut two black circles from cardstock and tape to the Baymax head. You will then cut a 1/2 inch strip of black cardstock to tape or glue down between the two black circles to complete Baymax.
End of White Baymax. Continue on below for Red Helmet Baymax.
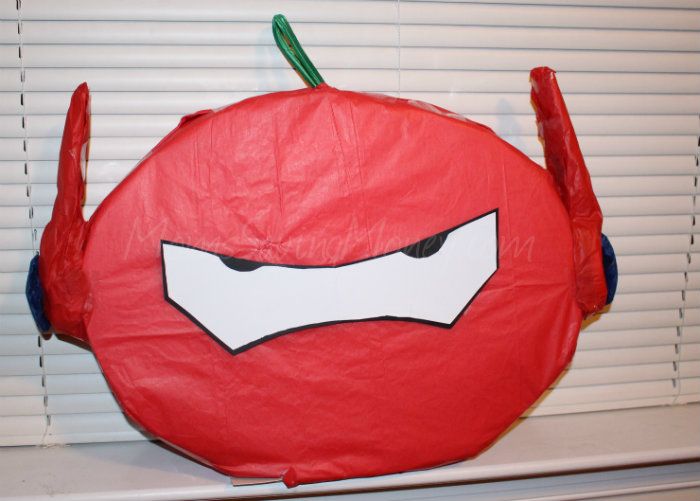
11. Add red tissue paper around the back and the front of the Baymax head to create the helmet.

12. Cut your black and white mask for Baymax. You can use the SVG file from the Baymax Invite from the Party Store and just enlarge the mask part to make this easier.

13. Take two white rolled up tissue to make the ears and secure on the sides of the Baymax head. I used tape to attach and to hold the shape of the antennas.

14. Take red tissue paper and cover the white tissue paper ear antennas and tape to secure.

15. Make sure to add your Big Hero 6 Goodies to the Baymax Pinata and close it up securing with packaging tape.
That is it! You are done!

Topic: Baymax Pinata