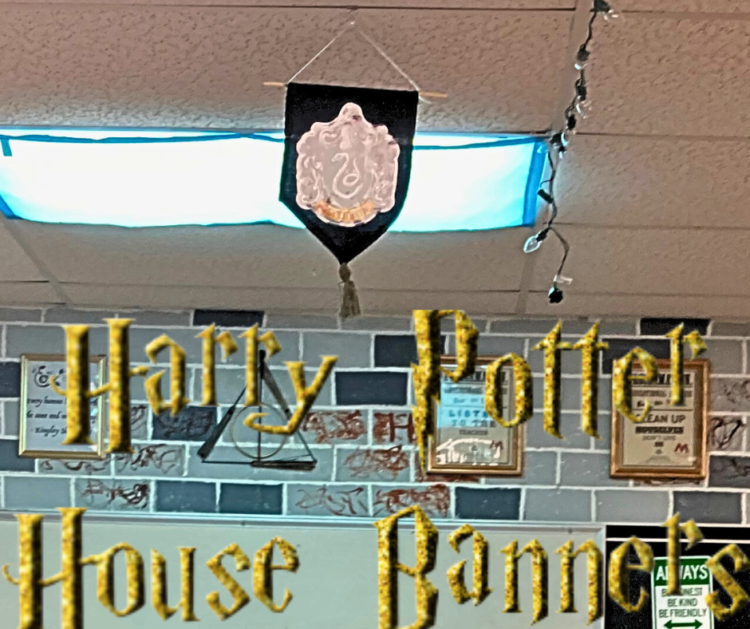
Harry Potter House Banners Tutorial
Creating Harry Potter house banners can be a fun and creative way to decorate your space, whether it’s for a […]
Harry Potter House Banners Tutorial Read More »
Creating Harry Potter house banners can be a fun and creative way to decorate your space, whether it’s for a […]
Harry Potter House Banners Tutorial Read More »
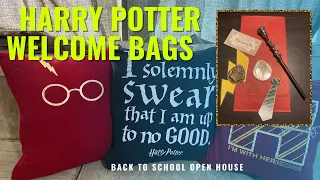
Looking to transform your classroom into a magical world of wizardry and enchantment? Look no further than our Harry Potter
Harry Potter Classroom Decorations Read More »
Students just as much as adults need to take care of both emotional and social well-being. With the increasing pressure
5 Emotional and Social Calming activities for Students Read More »
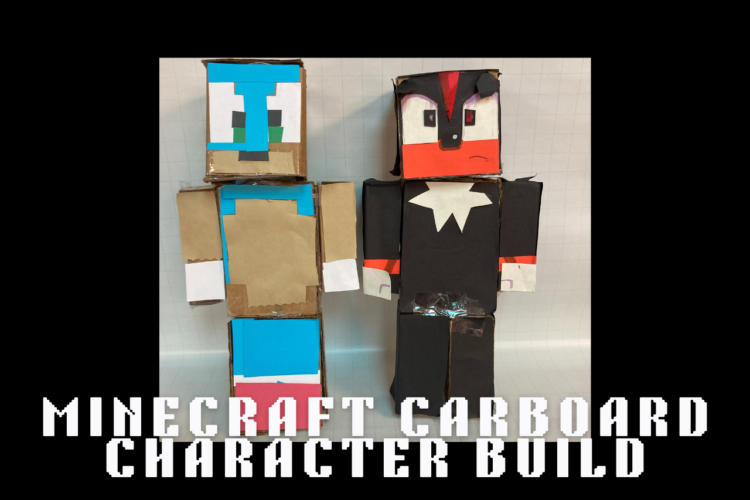
Minecraft Cardboard Character Build Tutorial Minecraft is a popular video game that allows players to build and explore a 3D
Minecraft Cardboard Character Build Project Read More »