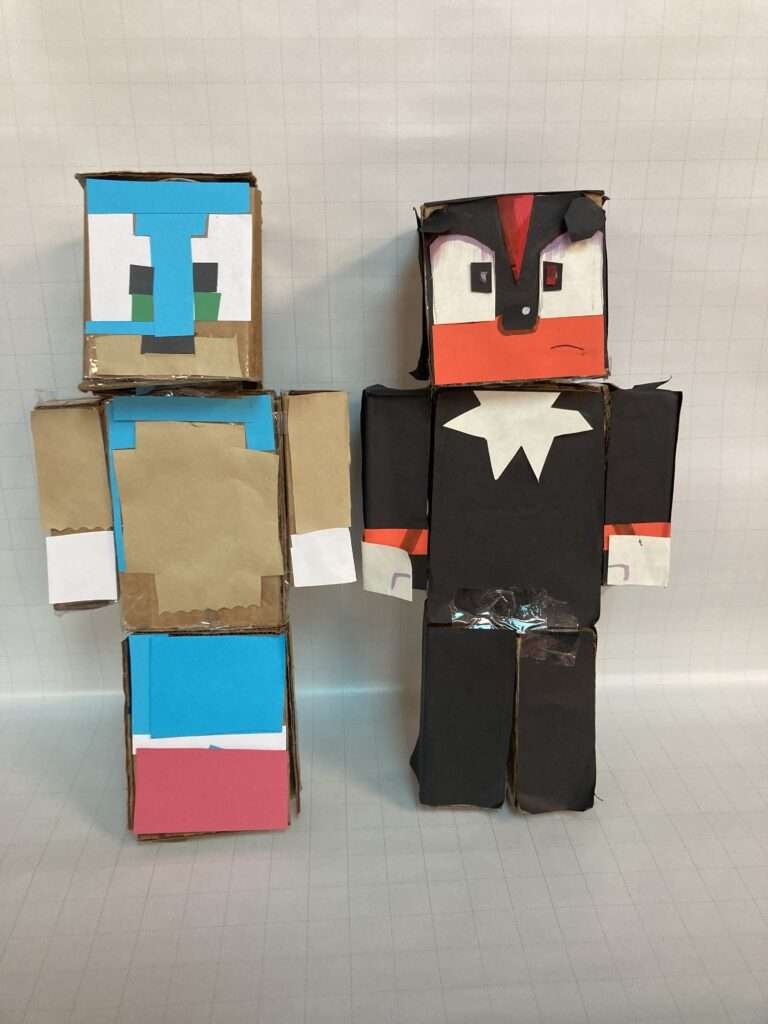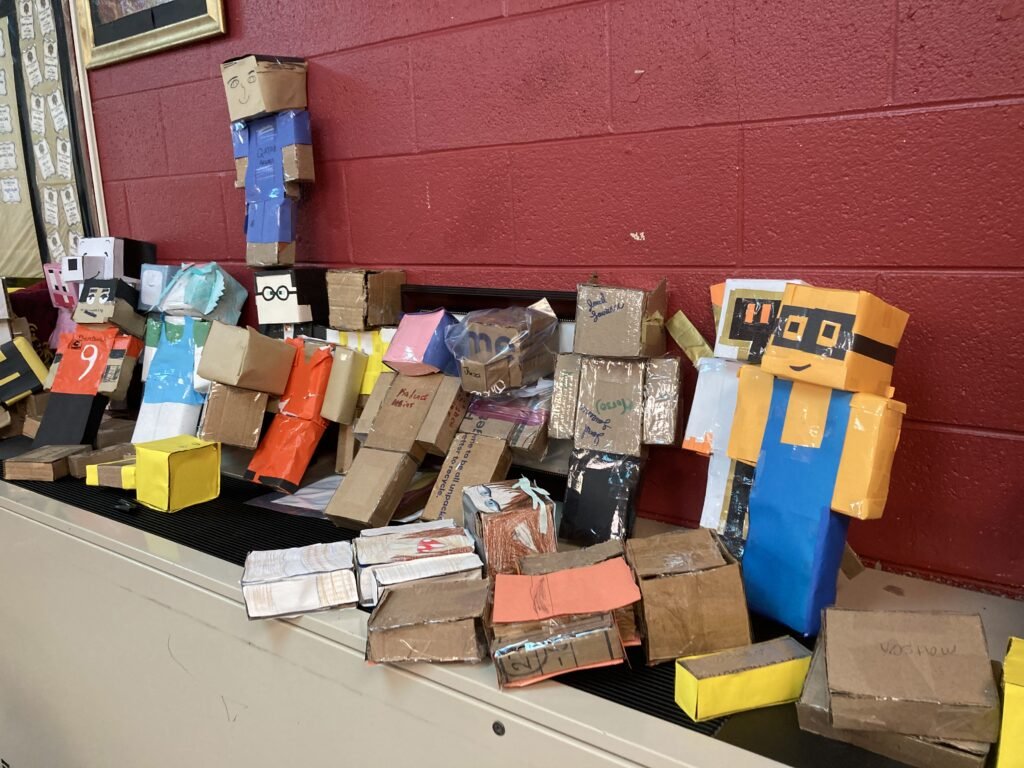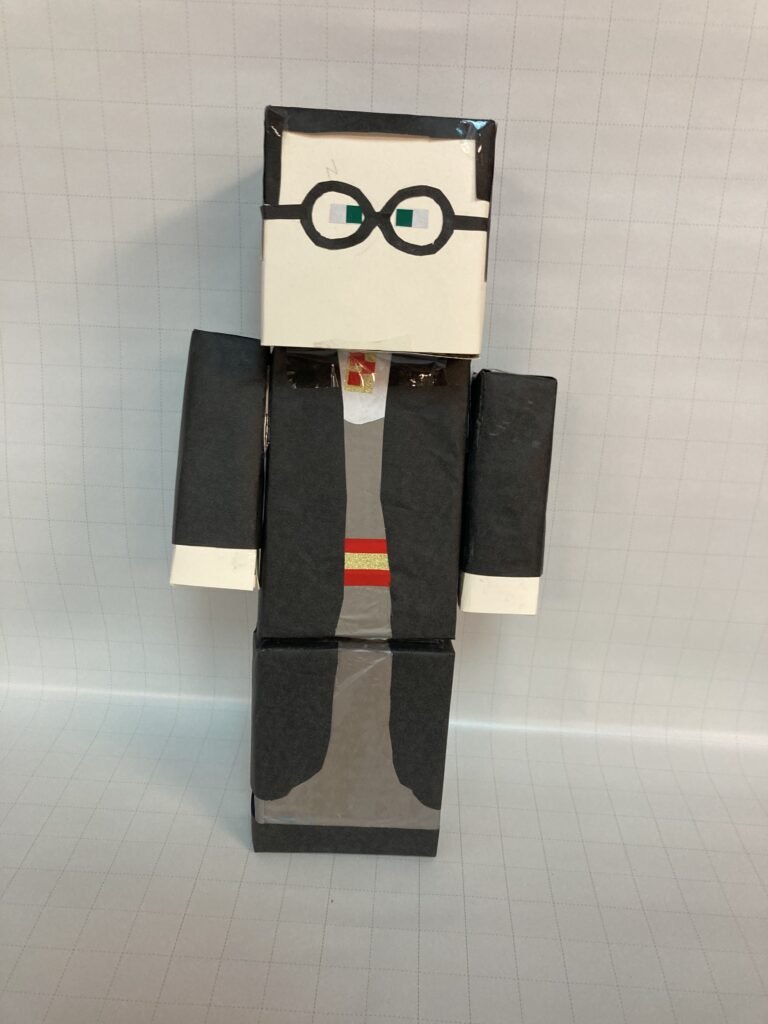
Minecraft Cardboard Character Build Tutorial
Minecraft is a popular video game that allows players to build and explore a 3D world made of blocks. But did you know that you can also use Minecraft as a learning tool? In this tutorial, we’ll show you how to build a cardboard Minecraft character and use it to teach students about area, perimeter, and surface area.
Materials:
- Cardboard
- Ruler
- Pencil
- Scissors
- Glue or tape
- Minecraft character reference image

Measurements for Minecraft Cardboard Character Build
You will have 5 body parts in total.
Head/Face – 4 inches by 4 inches. You will need 6 pieces
Torso – Front/Back 2 pieces = 4 inches wide by 6 inches tall. Sides 2 pieces = 1.5 inches wide by 6 inches tall. Top/Bottom 2 pieces = 1.5 inches wide by 4 inches long.
Arms – 8 pieces of 1.5 inches by 5 inches tall. Top/Bottom 4 pieces total = 1.5 inches by 1.5 inches
Legs – Front/Back 2 pieces 4 inches wide by 5 inches tall, Sides 2 pieces = 1.5 inches wide by 5 inches tall, Top/Bottom 2 pieces = 1.5 inches by 4 inches.
Tutorial Steps
Step 1: Choose your Minecraft character Choose your favorite Minecraft character and find a reference image online. This will be the basis for your cardboard character.
Step 2: Draw and cut out the shapes Using your ruler and pencil, draw the shapes for your Minecraft character onto the cardboard. This may include squares, rectangles, and triangles. Cut out the shapes with your scissors.
Step 3: Assemble the character Use glue or tape to assemble the shapes into your Minecraft character. Pay attention to the dimensions of each shape and how they fit together. This is where students can start learning about perimeter and area.
Step 4: Calculate the surface area Once the Minecraft character is assembled, measure the length, width, and height of each shape. Then, use the formulas for surface area to calculate the total surface area of the character. This is a great opportunity to introduce students to the concept of surface area and how it applies to 3D objects.
Step 5: Decorate the character Using markers or paint, decorate your Minecraft character to bring it to life! This is where students can get creative and add their own personal touches.
Step 6: Explore and learn Now that your Minecraft character is complete, use it to explore different concepts related to area, perimeter, and surface area. For example, you can measure the area of each shape individually, calculate the perimeter of the entire character, or compare the surface area of different characters.
Using Minecraft as a learning tool can be a fun and engaging way to teach students about math concepts. By building a cardboard Minecraft character and exploring its dimensions, students can gain a deeper understanding of area, perimeter, and surface area.

Topic: Minecraft Cardboard Character Build.
Interested in more classroom craft items check out the classroom category.
