LEGO Balloon Tutorial
LEGO’s are Awesome. Everything is awesome with these LEGO Balloons! When we work together everything is awesome! Have your kiddos […]
LEGO Balloon Tutorial Read More »
LEGO’s are Awesome. Everything is awesome with these LEGO Balloons! When we work together everything is awesome! Have your kiddos […]
LEGO Balloon Tutorial Read More »
Avengers Party Ideas Boys Start off with a Captain America Shield Invitation. You can get the SVG, PNG, PDF file for
Avengers Party Ideas Read More »
These are fun and light weight but sturdy invitations. These can be customized to an Avengers or Captain America Party.
Handmade Captain America Invites Read More »
Looking for some great How to Tips on Themed Party Ideas. Check out the ever growing selection of Themed Party
Themed Party Ideas – Rebecca Autry Creations Read More »
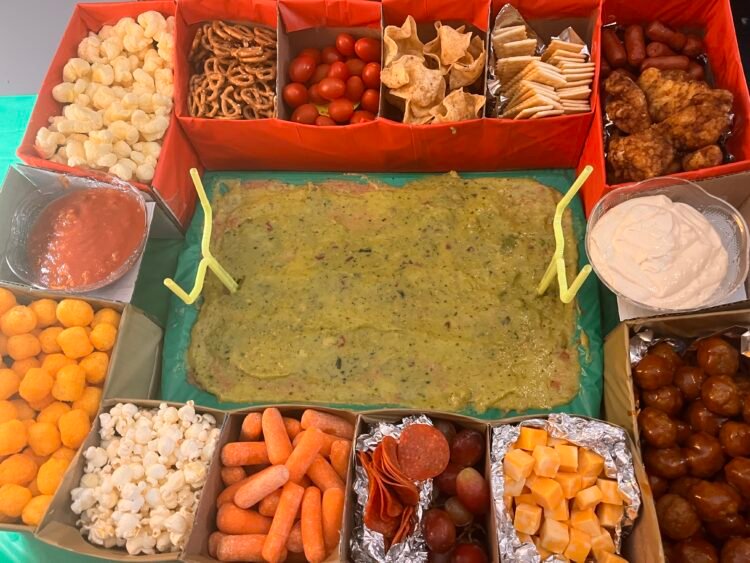
DIY Super Bowl Food Stadiums are very popular so I decided to make my own. I had some extra time
Super Bowl Food Stadium Read More »
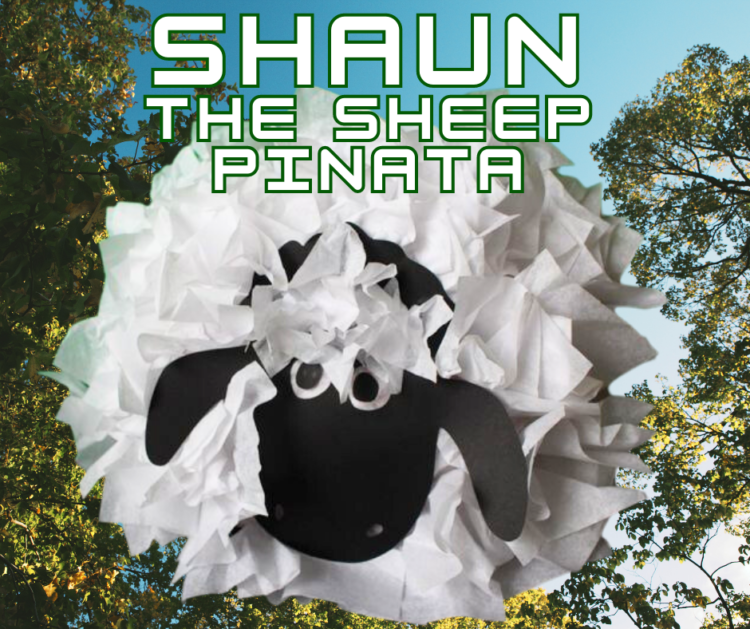
Shaun the Sheep Pinata What you Need: How to Make Shaun the Sheep: Step 1 Get your supplies together. You
Shaun the Sheep Pinata Read More »

Baymax Pinata Are you looking for an easy DIY Big Hero 6 Decoration Idea? Consider making your very own Baymax Pinata. This
Baymax Piñata Tutorial Read More »
January 18, 2014 by Rebecca Autry Leave a Comment Jake and the Neverland Pirate Party Ideas … [Read more…] Filed
Jake and the Neverland Pirates Read More »
Are you throwing a Batman-themed party and looking for a fun DIY activity that your guests will love? Why not
Batman LEGO Pinata Tutorial Read More »