Rebecca Autry Creations
  • Home
  • Piñata’s
  • Vacation Bible School
  • Wedding
  • Courses
  • Store

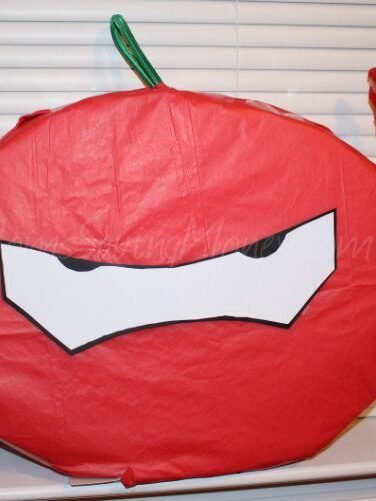
How to Make Old School Batman Piñata

November 10, 2019 by rautry

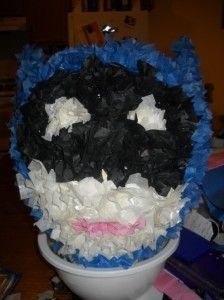
How to Make a Old School Batman Piñata

Pinatas are fun and lets face it they don’t come cheap when it comes to crushing it to pieces. This easy and budget friendly tutorial will alleviate the stress of spending tons of money of something that will not last very long. Let get to it with your very own Batman Pinata.

What you Need:

– Cardboard box/Large balloon

– Tissue Paper (blue, black, white)

– Bungy Cord

– Packaging Tape or Duck Tape

– Flour

– Warm Water

– Glue

– Scissors

– Pencil

– 2 inch strips of paper preferably notebook paper or newspaper

– Candy and piñata fillings (be creative and have items that connect to the theme)

How to Make:

1. First take your balloon and air it up to the desired size. Tie it off.

2. Take your paper and shred into 2 inch strips if not already done.

3. Make a paste of flour and warm water.

4. Carefully take a strip of paper and dip into paste, add it to the balloon. Cover the entire balloon in one layer.

5. let it sit and dry you can use a hair dryer on a lower setting to dry faster. Depending on how wet the paste is the longer it takes to dry.

6. Repeat steps 4 and 5 until ballon is covered and dry with desired amount of layers. Easy to break piñatas 4-5 layers, harder to break 10 layers.

7. Once the piñata is very dry you can pop the balloon inside if it has not already popped. Cut out a 4 inch by 4 inch area on 3 side to allow it to flap open, this is the entry way for the candy.

8. Reinforce handle (bungy cord) with cardboard and tape. Create a hole at the top of the piñata for the handle just enough the bungy cord can fit thru. Secure with tape.

9. Now the fun part! Time to decorate! First draw on the piñata your pattern to follow. Cut tissue paper in small squares about 2 inches by 2 inches.

10. Use the pencil, eraser side and place in the middle of a tissue paper. Dip in a glob of glue and place on the piñata in the desired area according to your pattern. Do this for entire piñata.

11. Before securing the open flap be sure to place your piñata candy and party filling favors. Secure the open flap with tape and then cover with tissue paper.

Congrats, You Did It!

What other Batman Party Ideas can you think of?

Check out these other Pinata Tutorials

Treasure Chest, Mario 1Up Mushroom, Tinkerbell Flower, Frog Prince, Blues Clues, Spider-man, Optimus Prime,

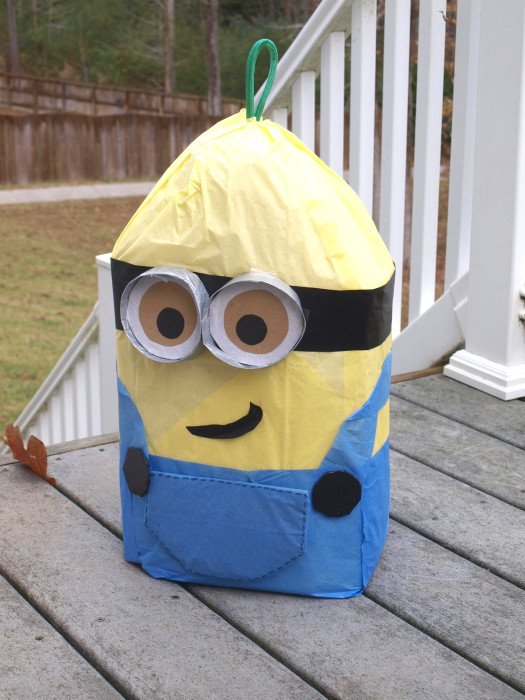
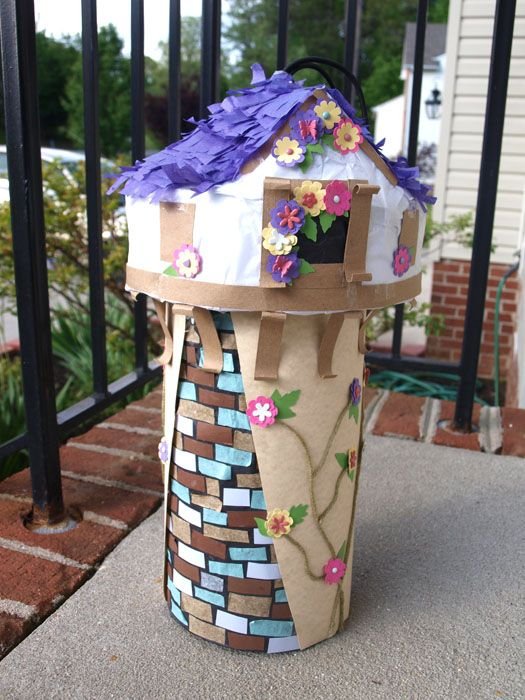
Lightening McQueen, Power Rangers, Transformers, Princess Castle, Dora’s Backpack, Minion, Smiley Face, Donald Duck, Handy Manny Measuring Tape

Topic: How to Make a Old School Batman Piñata

Filed Under: Pinatas

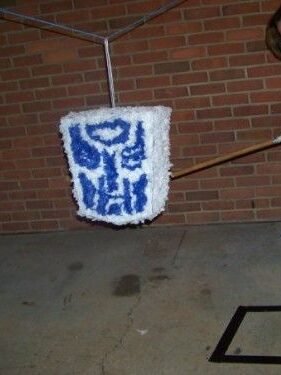
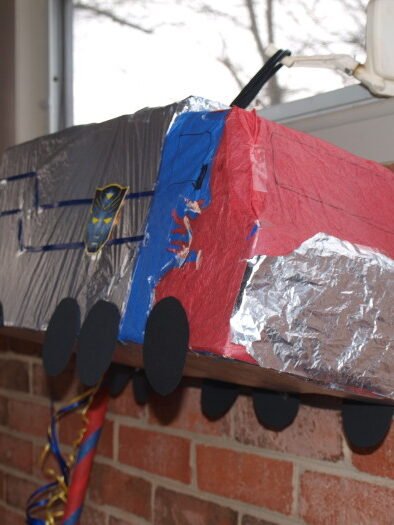
How to Make a Transformers Piñata

November 10, 2019 by rautry

Are you an Autobot or a Decepticon Fan? No Matter which you like best we all like to take a swing at pinatas, even if they are Transformers in disguise!

What you Need:

– Cardboard box/Large balloon

– Tissue Paper (red, black, white)

– Bungy Cord

– Packaging Tape or Duck Tape

– Glue

– Scissors

– Pencil

– Candy and piñata fillings (be creative and have items that connect to the theme)

How to Make:

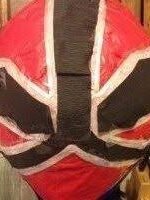
1. First take your cardboard box and cut your pattern of the Autobot Transformers sybol. I made the same pattern for both front and back and decided on a 4 inch width for the sides.

2. Take your duck tape and tape the sides to both the front and back until all is covered and taped together.

3. Cut out a 4 inch by 4 inch area on 3 sides (on the side width)  to allow it to flap open, this is the entry way for the candy.

4. Reinforce handle (bungy cord) with cardboard and tape. Create a hole at the top of the piñata for the handle just enough the bungy cord can fit thru. Secure with tape.

5. Now the fun part! Time to decorate! First draw on the piñata your pattern to follow. Cut tissue paper in small squares about 2 inches by 2 inches.

6. Use the pencil, eraser side and place in the middle of a tissue paper. Dip in a glob of glue and place on the piñata in the desired area according to your pattern. Do this for entire piñata.

7. Before securing the open flap be sure to place your piñata candy and party filling favors. Secure the open flap with tape and then cover with tissue paper.

Congrats, You Did It!

Check out these other Piñata Tutorials

%filemane%
%filemane%
%filemane%
%filemane%
%filemane%
%filemane%
%filemane%
%filemane%
%filemane%
%filemane%
%filemane%
tinkerbell flower pinata
%filemane%
%filemane%
%filemane%
%filemane%
%filemane%
%filemane%

Topic: How to Make a Transformers Piñata

Filed Under: Pinatas

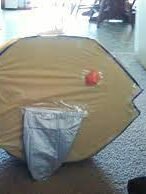
Fish Pinata Tutorial

November 10, 2019 by rautry

What you Need:

  • Cardboard box
  • Scissors
  • Bungee Cord
  • Yellow Plastic Table cloth
  • Ribbon
  • Easter plastic egg
  • Silver or different color table cloth or tissue paper

How to Make:

Step 1

Take a Cardboard box and cut your side of the fish and trace onto the 2nd to make a matching side.

Step 2

Take a 2 – 3 inch strip of cardboard and tape to one side until all the way around the Fish side. Repeat as you attach the other side. Make sure to specify your center for the bungee cord handle.

Step 3

Locate where you will put the bungee cord handle and create a hole. For better strength and protection add a second layer of the bungee cord and tape down.

Step 4

Fill your Fish Pinata with goodies. Tape shut

Step 5

Cover your Fish Pinata with the yellow plastic table cloth and tape well.

Step 6

Make your fish fins out of cardboard and cover with a second color of your choice. Attach fins to the side of the fish.

Step 7

Take your ribbon and trace the edges of the fish and glue or tape down.

Step 8

Take a plastic Easter Egg and split in half and use to secure it to the sides of the fish.

That is it! You are done!

Topic: Fish Pinata Tutorial

Filed Under: Pinatas

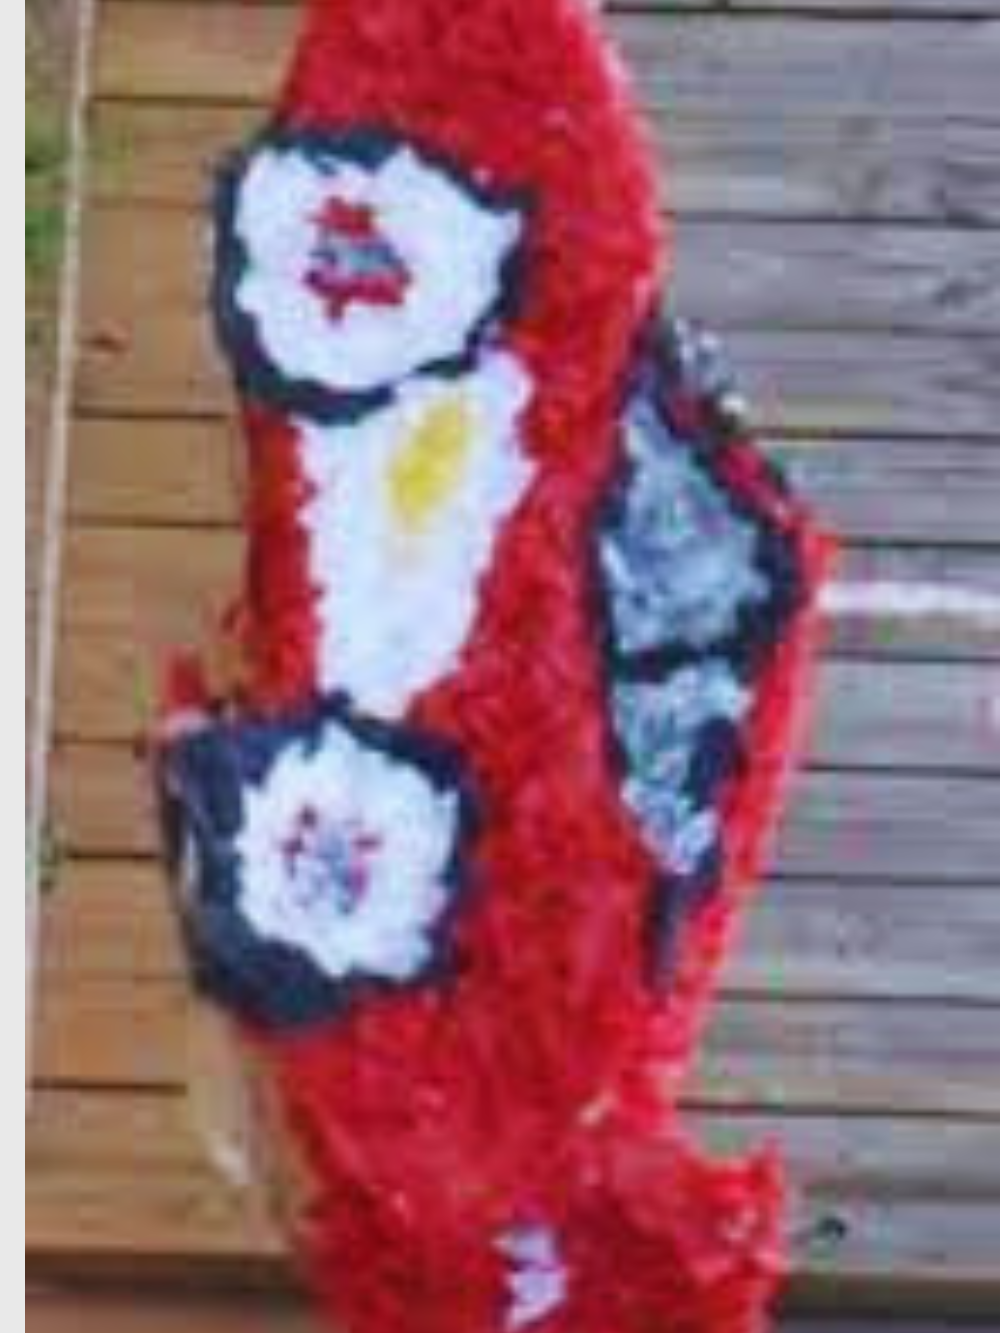
How to Make a Spider-Man Piñata
September 11, 2018 by rautry

How to Make a Spider-Man Piñata
Not the traditional First Birthday Party but the most memorable one for me! My hubby is a Huge Spiderman 99 Comic Book Fan so I thought this would make the perfect theme for our first born child.

As you may have realized we made a huge party of all kinds of Spider-man simple DIY decorations. Make sure to make a visit to your nearest Dollar Tree, the other day I saw partyware including a Spiderman Mylar balloon.

Photo Credit: BargianswithBrittanie.com

Check out the Spider-man Party Decorations by clicking on the link below.

What you Need:

– Cardboard box/Large balloon

– Tissue Paper (red, black, white)

– Bungy Cord

– Packaging Tape or Duck Tape

– Flour

– Warm Water

– Glue

– Scissors

– Pencil

– 2 inch strips of paper preferably notebook paper or newspaper

– Candy and piñata fillings (be creative and have items that connect to the theme)

How to Make:

1. First take your balloon and air it up to the desired size. Tie it off.

2. Take your paper and shred into 2 inch strips if not already done.

3. Make a paste of flour and warm water.

4. Carefully take a strip of paper and dip into paste, add it to the balloon. Cover the entire balloon in one layer.

5. let it sit and dry you can use a hair dryer on a lower setting to dry faster. Depending on how wet the paste is the longer it takes to dry.

6. Repeat steps 4 and 5 until ballon is covered and dry with desired amount of layers. Easy to break piñatas 4-5 layers, harder to break 10 layers.

7. Once the piñata is very dry you can pop the balloon inside if it has not already popped. Cut out a 4 inch by 4 inch area on 3 side to allow it to flap open, this is the entry way for the candy.

8. Reinforce handle (bungy cord) with cardboard and tape. Create a hole at the top of the piñata for the handle just enough the bungy cord can fit thru. Secure with tape.

9. Now the fun part! Time to decorate! First draw on the piñata your pattern to follow. Cut tissue paper in small squares about 2 inches by 2 inches.

10. Use the pencil, eraser side and place in the middle of a tissue paper. Dip in a glob of glue and place on the piñata in the desired area according to your pattern. Do this for entire piñata.

11. Before securing the open flap be sure to place your piñata candy and party filling favors. Secure the open flap with tape and then cover with tissue paper.

Congrats, You Did It!

Don’t forget to check out other Spiderman Birthday party decoration ideas you can make yourself from products at Dollar Tree.

Check out these other Pinata Tutorials

Treasure Chest, Mario 1Up Mushroom, Tinkerbell Flower, Frog Prince, Blues Clues, Optimus Prime,

Lightening McQueen, Batman, Power Rangers, Transformers, Princess Castle, Dora’s Backpack, Minion, Smiley Face, Donald Duck, Handy Manny Measuring Tape

Topic: How to Make a Spider-Man Piñata
Filed Under: Pinatas

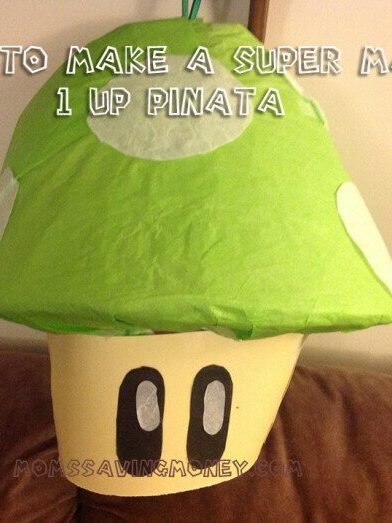
How to Make a Super Mario 1 Up Piñata
October 21, 2017 by rautry

How to Make a Super Mario 1 Up Piñata

Complete your Super Mario Party with a 1 Up Pinata. Sure to please a crowd! Everyone likes taking a swing at pinatas. Budget friendly and easy to make.

What you Need:

– Cardboard box

– Tissue Paper (green, black, white, cream )

– Bungy Cord

– Packaging Tape or Duck Tape

– Scissors

– Pencil

– Candy and piñata fillings (be creative and have items that connect to the theme)

How to Make:

1. First take your your cardboard and cut it into a triangle by making the top center 1 inch by 4 inches and folding the box in triangle. Tape the slits.

2. Take your bungy and tie it. Take the loop thru a piece of cardboard. Tape down securely. Tape the inside of the top of your mushroom top.

3. Take your candy and pinata filler and put it in the mushroom top while it is facing upside down. Fill with tissue paper or newspaper like I did (this helps to keep its shape but easy to hit and break).

4. Cut a circle to fit the bottom of the mushroom and tape it to the top mushroom closing it completely.

5. Take cream paper and make the shape of a mushroom bottom. Attach with tape to the bottom of the mushroom top. Use tissue paper to fill and close shut.

6. Starting from the top use green tissue paper and tape to secure. Wrap around the entire mushroom top. Take the cream tissue and cover the stem/bottom of the mushroom.

7. Cut out White circles of tissue paper and attach to the top of the green mushroom top.

8. Cut our black elongated ovals and white smaller elongated ovals and attach to the stem/bottom.

Congrats, You Did It!

Check out these other Pinata Tutorials

Treasure Chest, Tinkerbell Flower, Frog Prince, Blues Clues, Spider-man, Optimus Prime,

Lightening McQueen, Batman, Power Rangers, Transformers, Princess Castle, Dora’s Backpack, Minion, Smiley Face, Donald Duck, Handy Manny Measuring Tape

Topic: How to Make a Super Mario 1 Up Piñata

Filed Under: Pinatas

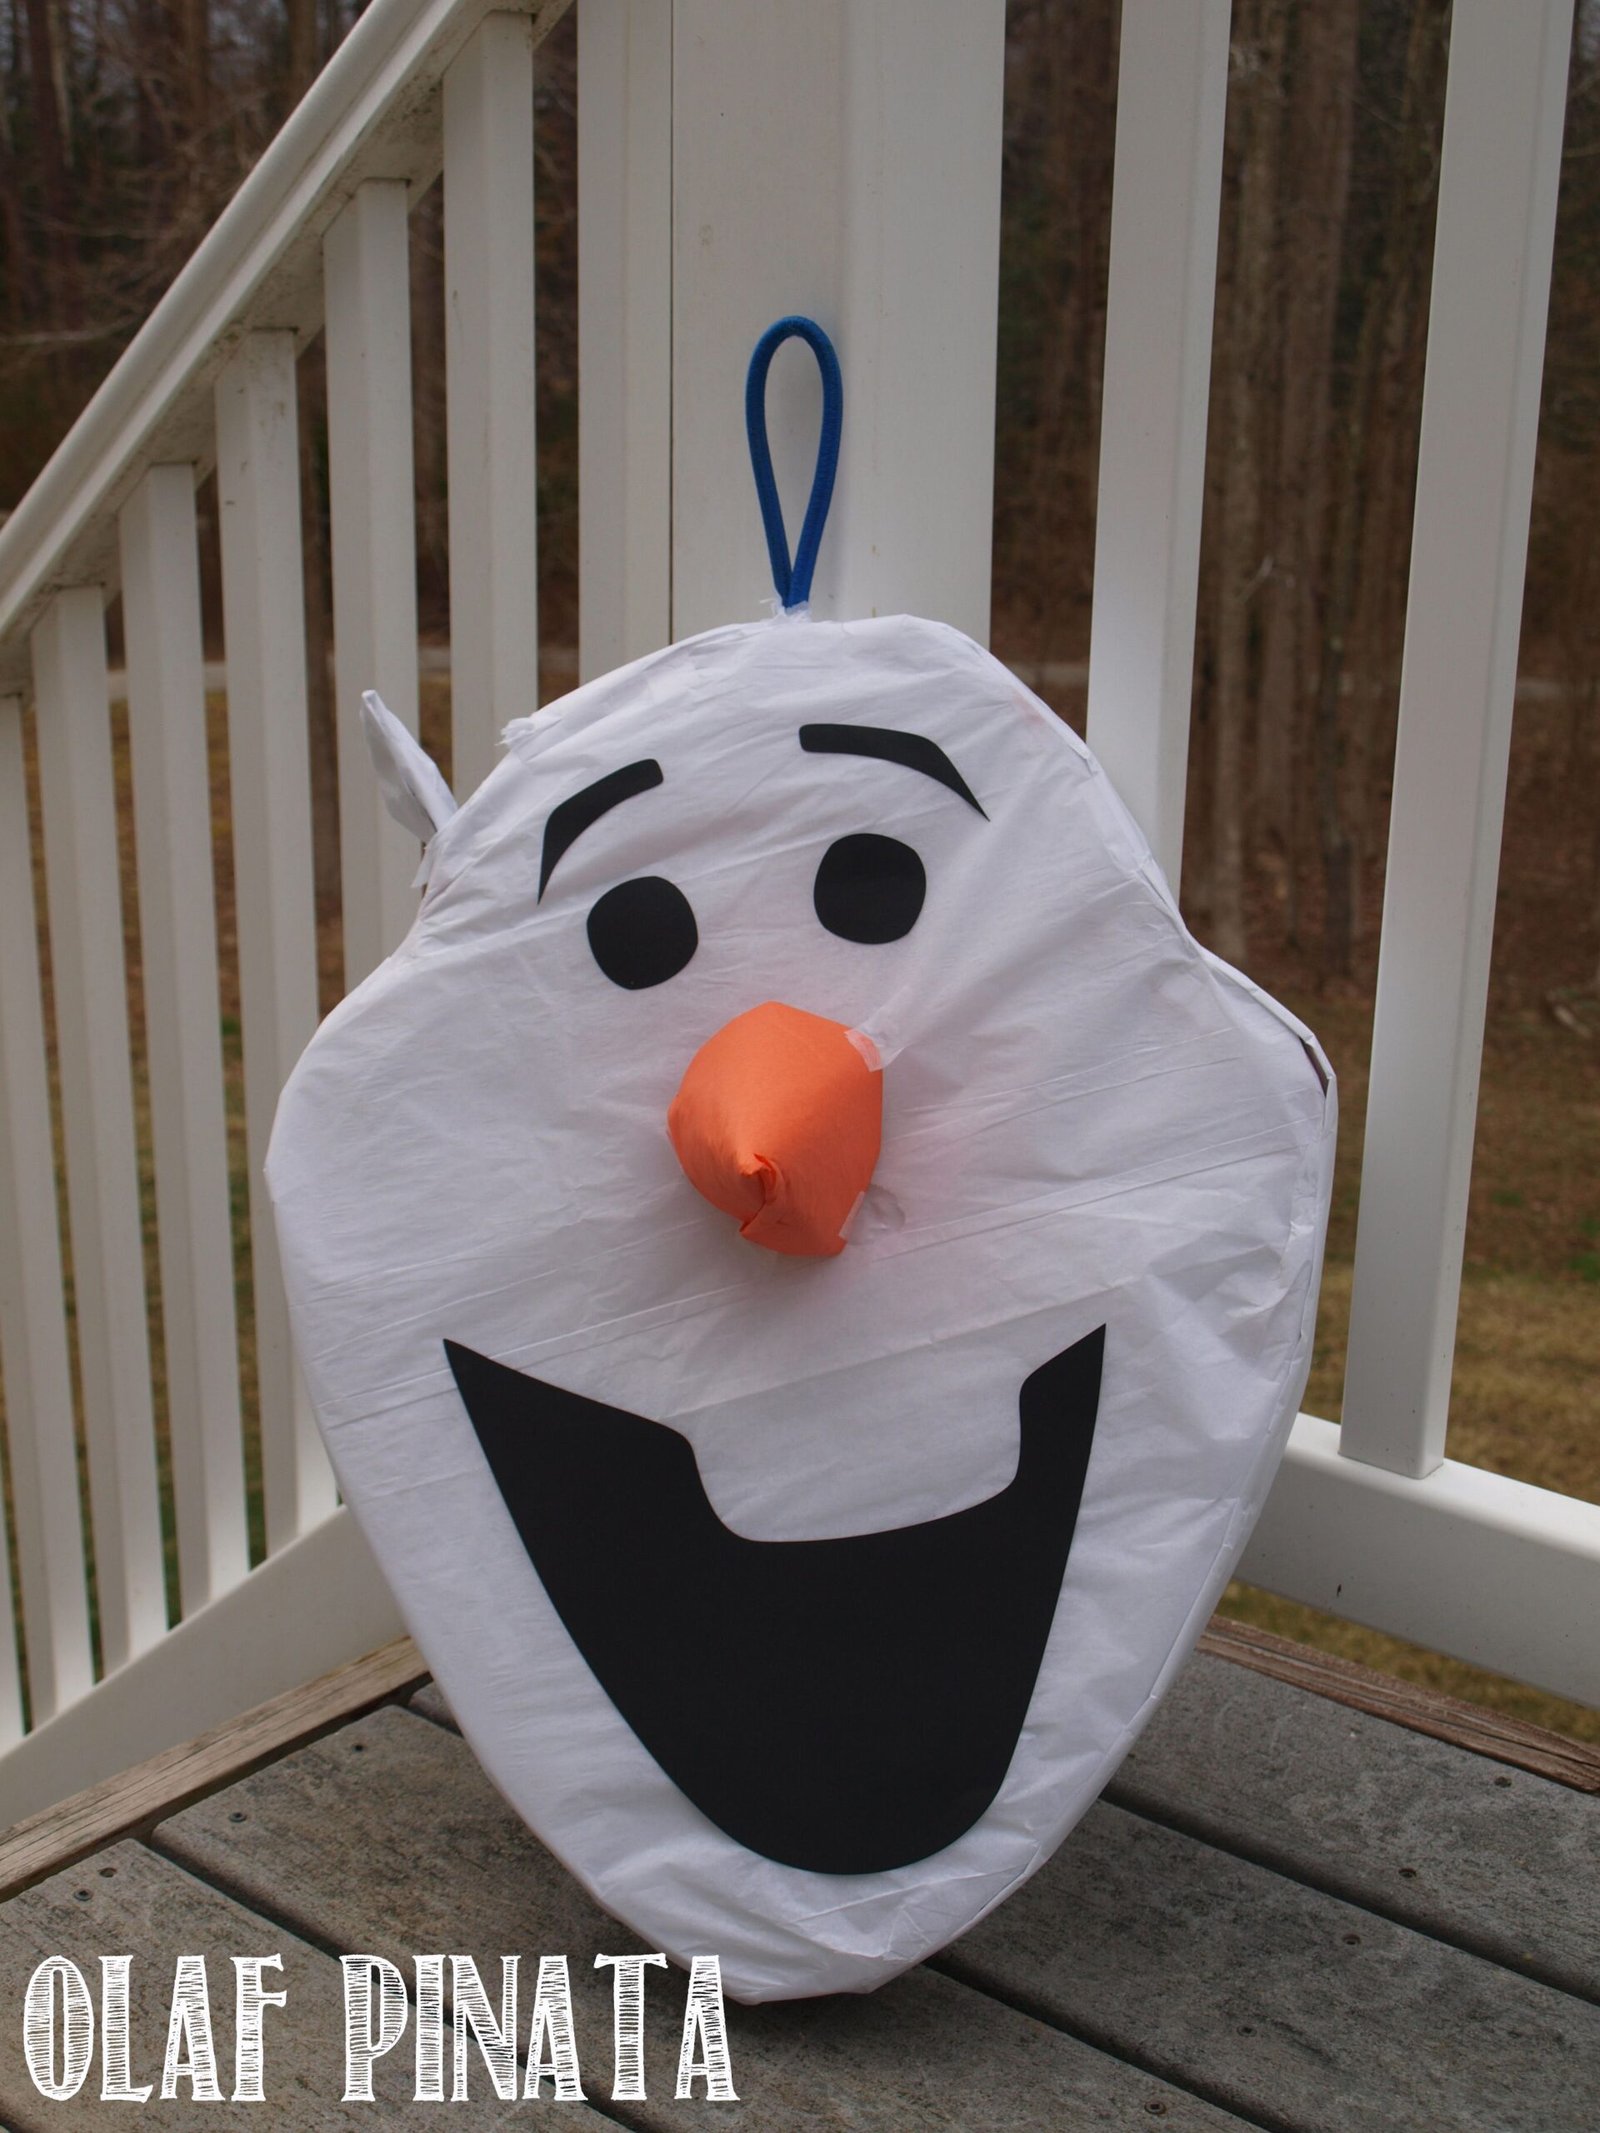
Olaf Snowman Pinata

June 29, 2016 by rautry

This is a handmade Olaf Pinata that brings excitement to any Disney Frozen Theme Party.
Olaf come unfilled and hangs with a Bungee loop so you can easily slip rope through. Olaf’s Nose is detached when shipped and comes with instructions on how to attach the nose.

Olaf Snowman Pinata is made from thin heavy duty cardboard and packaging/duck tape is used to hold together so even the adults can get a chance to swing at Olaf. Olaf is covered with white tissue paper and black cardstock. The nose is make out of the same thin heavy duty cardboard and covered with orange tissue paper and simply attach with scotch tape.

Please note that this product is handmade and will take 1-3 days before shipping.

Filed Under: Pinatas

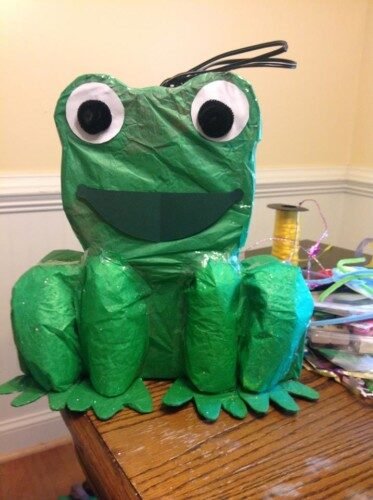
How to Make a Frog Pinata

June 28, 2016 by rautry

How to Make a Frog Pinata (under $4)

Before we get started be sure to check out other Princess and the Frog Party Ideas. Click on the image below.

%filemane%

Princess and the Frog party Ideas

This frog pinata was made into a prince. You can’t have a Princess and the Frog Birthday Party without Frog Prince. Very simple and easy to make and adds character to your theme.

What you Need:

– Cardboard Box

– Scissors

– Tape

– Green Tissue Paper

– Bungee cord

– filler paper (napkins or tissue paper.

– Yellow, black and white cardstock

How to Make:

1. Take your cardboard box and draw out the body. Make 2 of theses. I cut mine in the shape of base body with the head.

2. Determine the width of the frog and cut strips to fit around the body shape and secure using tape. I made the width of this Frog Pinata about 3 1/2 inches wide.

3. Attach the bungy cord and secure tightly using the tape. Make sure to leave a hole open to put in candy later. I used duck tape because you want this part to be the most secure so your pinata will hold up longer.

4. Cover with Green tissue paper securing with tape. Make sure you cover the entirety of the Frog Pinata.

5. Use black Card stock paper and cut out a mouth and attach to pinata using glue or tape. Cut out eyes from black and white cardstock and attach with glue or tape.

6. Create 4 cylender legs and attach and cover with green tissue paper. To keep the legs nice and round stuff with filler paper as paper towels or tissue paper. Cut out frog feet and attach to bottom of the legs with glue or tape. Add a yellow crown made from yellow cardstock and attach over the bungee cord and tape or glue down.

%filemane%

That is it. You are Done!

Have fun and remember to add candy and other goodies and close up the hole taping it shut.

Check out these other Pinata Tutorials

Treasure Chest, Mario 1Up Mushroom, Tinkerbell Flower, Blues Clues, Spider-man, Optimus Prime,

Lightening McQueen, Batman, Power Rangers, Transformers, Princess Castle, Dora’s Backpack, Minion, Smiley Face, Donald Duck, Handy Manny Measuring Tape

Topic: How to Make a Frog Pinata (under $4)

Filed Under: Pinatas

How to Make Despicable Me Pinata

June 20, 2016 by rautry

Filed Under: Pinatas

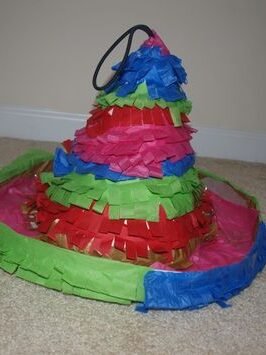
mexican pinata

May 13, 2016 by rautry

Filed Under: Pinatas

How to Make Blues Clues Piñata

May 13, 2016 by rautry

Not a traditional first birthday party but fun just as well! You can make this easy Blues Clues Pinata without the high cost of a store bought pinata.

What you Need:

– Cardboard box

– Tissue Paper (blue, black, white)

– Bungy Cord

– Packaging Tape or Duck Tape

– Glue

– Scissors

– Pencil

– Candy and piñata fillings (be creative and have items that connect to the theme)

How to Make:

1. First take your cardboard box and cut your pattern of Blue. I made the same pattern for both front and back and decided on a 4 inch width for the sides.

2. Take your duck tape and tape the sides to both the front and back until all is covered and taped together.

3. Cut out a 4 inch by 4 inch area on 3 side to allow it to flap open, this is the entry way for the candy.

4. Reinforce handle (bungy cord) with cardboard and tape. Create a hole at the top of the piñata for the handle just enough the bungy cord can fit thru. Secure with tape.

5. Now the fun part! Time to decorate! First draw on the piñata your pattern to follow. Cut tissue paper in small squares about 2 inches by 2 inches.

6. Use the pencil, eraser side and place in the middle of a tissue paper. Dip in a glob of glue and place on the piñata in the desired area according to your pattern. Do this for entire piñata.

7. Before securing the open flap be sure to place your piñata candy and party filling favors. Secure the open flap with tape and then cover with tissue paper.

Congrats, You Did It!

Check out these other Pinata Tutorials

Treasure Chest, Mario 1Up Mushroom, Tinkerbell Flower, Frog Prince, Spider-man, Optimus Prime,

Lightening McQueen, Batman, Power Rangers, Transformers, Princess Castle, Dora’s Backpack, Minion, Smiley Face, Donald Duck, Handy Manny Measuring Tape

Topic: How to Make a Blue Clues Piñata

Posted in Pinata and tagged balloons, birthday decorations, birthdays, cardboards, cheap, decorations, DIY projects, do it yourself, do it yourself decorations, frugal ideas, Frugal Living, homemade decorations, mexican pinata, money saving ideas, party decorations, pinata, pinatas, saving money, theme birthdays, theme parties, thrifty living..

Filed Under: Pinatas

« Previous Page
Next Page »

Products

  • Household Handbook Household Handbook: Your Complete Home Management Binder $21.99 Original price was: $21.99.$9.99Current price is: $9.99.
  • Princess Tiana Tiara Princess Tiana Tiara SVG $0.99
  • Shaun The Sheep SVG Shaun the Sheep SVG Invitation $0.99
  • Super Mario Invite Super Mario SVG Invitation $0.99
  • Minecraft Favor Bag Minecraft Creeper Invitation $0.99
try.hpinstantink.com/cmfvfj

Copyright © 2025 · Genesis Framework · WordPress · Log in