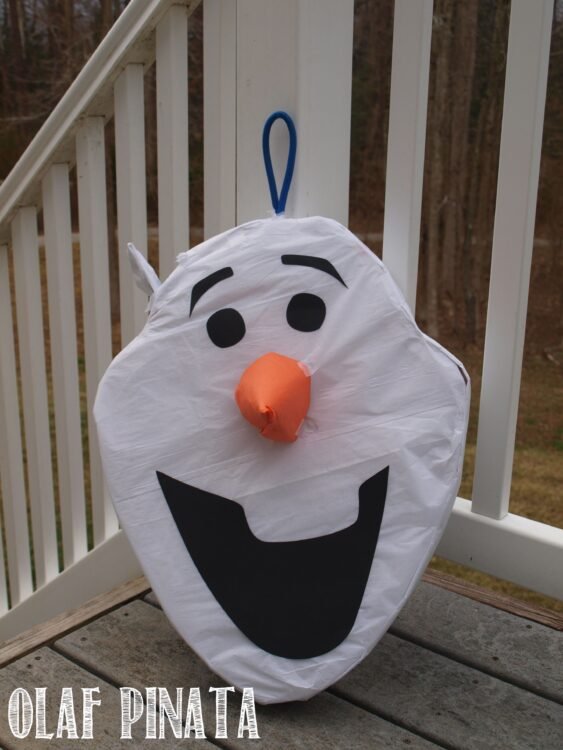
Olaf Pinata Tutorial
Olaf Snowman Pinata is great for Disney Frozen theme party. Olaf the Snowman from Frozen has made the movie a wonderful theme to recreate for any young child. Get your birthday child excited by making a custom Frozen theme just perfect for your little one celebrating another year of life. My Gallery Frozen Olaf Pinata is steadily increasing. This is my first pinata that I have made more than just one! See the gallery below. These are 100% Frozen Olaf homemade pinatas.

Be sure to check out other Disney Frozen Party Decoration Ideas.
What you Need:
– Cardboard box (I used Christmas gift boxes)
– Packaging tape
– White tissue paper
– Black, brown, orange construction/cardstock paper
How to Make:
1. First you need to decide how big you want and if you are doing Olaf’s entire body or just the head like me. Trace the head out making a front and back. Cut the head out. Cut long strips about 2 1/2 inches wide. These strips are for the side.
2. Slowly tape the edges of the front and back to the strips to make a 3D box of Olaf. Make sure to reinforce the sides with tape
3. Take your bungee cord and another small piece of cardboard and punch a hole thru to slide bungee loop thru. Secure down with tape. Slide the bungee loop thru a hole in the middle top of Olaf’s head. Secure with tape preferably duck tape. This has to be the most secure so your Olaf will continue to hang thru the entire bashing celebration.
4. Cover the entire box with white tissue paper.
5. Cut out the pieces to go on the head. You can find them in the Moms Saving Money Store. Glue on the mouth, eyes and eye brows.
6. Make a cone nose as desired height using a sheet of paper. Cover with Orange tissue paper or you can just cut it out of Orange cardstock. Secure to Olaf’s face with tape.
