Rebecca Autry Creations
  • Home
  • Piñata’s
  • Vacation Bible School
  • Wedding
  • Courses
  • Store

Harry Potter House Banners Tutorial

April 7, 2023 by rautry

Creating Harry Potter house banners can be a fun and creative way to decorate your space, whether it’s for a Harry Potter themed party or just to show off your love for the series. Here is a tutorial on how to make your own Harry Potter house banners:

Collect your materials to create your own Harry Potter House Banners

%filemane%

Materials:

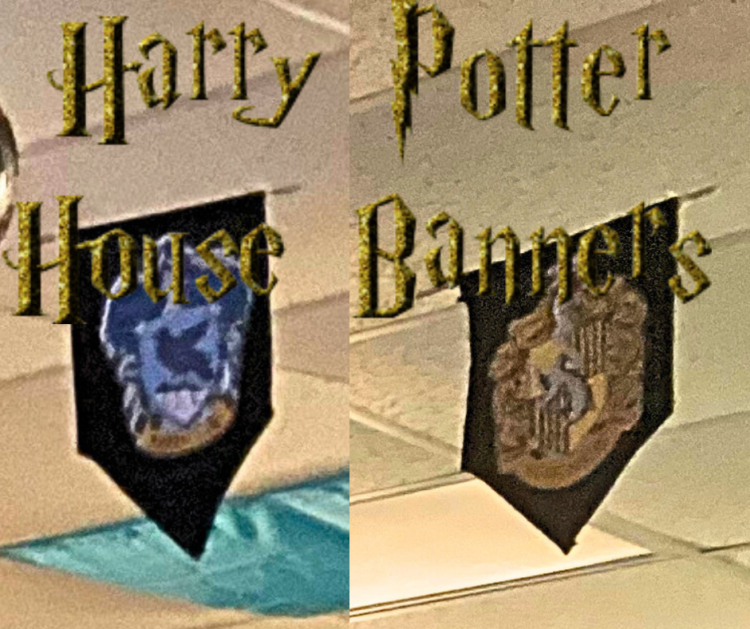
  • Four pieces of fabric in the colors of the four Hogwarts houses (Gryffindor: red and gold; Hufflepuff: yellow and black; Ravenclaw: blue and silver; Slytherin: green and silver) or black like the ones I created.
  • Iron-on transfer paper or Cardstock and laminator, lamination sheets
  • Scissors
  • Printer
  • Iron or Hot glue
  • Twine or ribbon or yarn in red, yellow, blue and green
  • Sewing machine or needle and thread
  • Dowel Rods
  • Fishing Wire
%filemane%

Follow below to create Harry Potter House Banners.

Instructions:

  1. Begin by measuring the size of the banners you want to make. Cut the fabric pieces to your desired size. A standard size for a banner is around 12 inches wide by 18 inches long, but you can adjust the size to your liking. I folded mine in half to create a triangle bottom.
  2. Using a computer, find the house crest images for each of the four Hogwarts houses. Resize them to fit on your banners, and print them out onto the iron-on transfer paper or cardstock. If you are printing on cardstock I recommend laminating the house crests and then cut. Make sure to cut two of each, one or each side of the banners.
  3. Cut around each of the crests, leaving a small border of transfer paper around the edge. If you printed on cardstock make sure to cut as close to the edges as possible.
  4. Following the instructions on the transfer paper package, iron each crest onto the corresponding color fabric piece. If you laminated the house crests then hot glue them to the banners.
  5. Once the crests have been transferred onto the fabric, trim any excess transfer paper from the edges.
  6. Cut a small slit at the top of each banner to thread the twine or ribbon through. Fold over the top edge of the banner about 1 inch and sew it down to create a pocket for the twine/ribbon. Alternative: Fold over the top edge of the banner and sew across to make a pocket for the dowel rod to pass through. Place the dowel and glue around the ends of the banner on each side so the banner does not slide.
  7. Thread the fishing wire, twine or ribbon through each banner and tie a knot at each end to create a hanger.
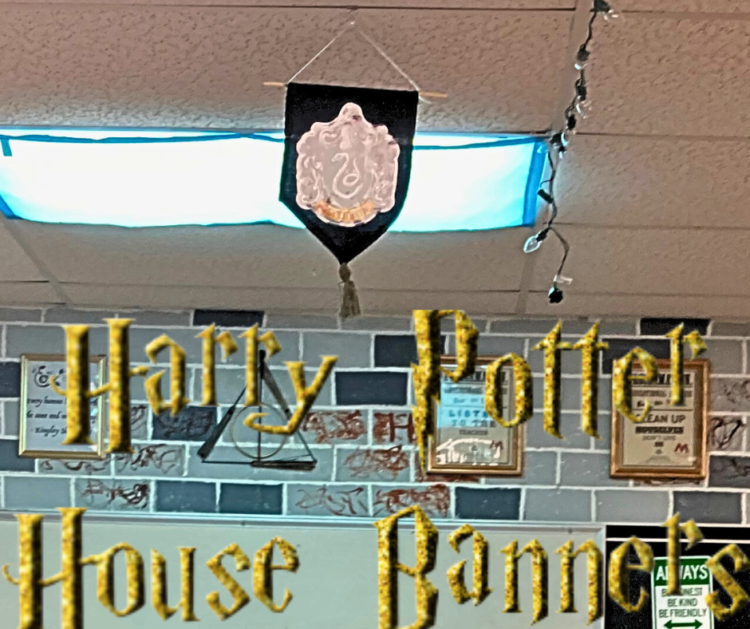
  8. Hang your banners on a wall, above a doorway, or wherever you choose to display them. Enjoy your Harry Potter house banners!

My banners are hung in my classroom above the tables for each house. I have a grid ceiling and used a paper clip attached to the fishing wire and slid them on the metal frame.

Optional: You can also add additional embellishments to your banners, such as gold tassels or fringed edges. I used yarn from Dollar Tree in the colors of red, blue, green and yellow corresponding to the house banner and hot glued them to the edges of the banners. Use your imagination and have fun with it!

Be sure to check out other Harry Potter Classroom

Topic: Harry Potter House Banners Tutorial

Filed Under: Classroom, Harry Potter Tagged With: #Banners, #ClassroomDecorations, #DIY, #HarryPotter, #HouseBanners

Minecraft Cardboard Character Build Project

March 17, 2023 by rautry

Minecraft Cardboard Character Build Tutorial

Minecraft is a popular video game that allows players to build and explore a 3D world made of blocks. But did you know that you can also use Minecraft as a learning tool? In this tutorial, we’ll show you how to build a cardboard Minecraft character and use it to teach students about area, perimeter, and surface area.

Materials:

  • Cardboard
  • Ruler
  • Pencil
  • Scissors
  • Glue or tape
  • Minecraft character reference image

Measurements for Minecraft Cardboard Character Build

You will have 5 body parts in total.

Head/Face – 4 inches by 4 inches. You will need 6 pieces

Torso – Front/Back 2 pieces = 4 inches wide by 6 inches tall. Sides 2 pieces = 1.5 inches wide by 6 inches tall. Top/Bottom 2 pieces = 1.5 inches wide by 4 inches long.

Arms – 8 pieces of 1.5 inches by 5 inches tall. Top/Bottom 4 pieces total = 1.5 inches by 1.5 inches

Legs – Front/Back 2 pieces 4 inches wide by 5 inches tall, Sides 2 pieces = 1.5 inches wide by 5 inches tall, Top/Bottom 2 pieces = 1.5 inches by 4 inches.

Tutorial Steps

Step 1: Choose your Minecraft character Choose your favorite Minecraft character and find a reference image online. This will be the basis for your cardboard character.

Step 2: Draw and cut out the shapes Using your ruler and pencil, draw the shapes for your Minecraft character onto the cardboard. This may include squares, rectangles, and triangles. Cut out the shapes with your scissors.

Step 3: Assemble the character Use glue or tape to assemble the shapes into your Minecraft character. Pay attention to the dimensions of each shape and how they fit together. This is where students can start learning about perimeter and area.

Step 4: Calculate the surface area Once the Minecraft character is assembled, measure the length, width, and height of each shape. Then, use the formulas for surface area to calculate the total surface area of the character. This is a great opportunity to introduce students to the concept of surface area and how it applies to 3D objects.

Step 5: Decorate the character Using markers or paint, decorate your Minecraft character to bring it to life! This is where students can get creative and add their own personal touches.

Step 6: Explore and learn Now that your Minecraft character is complete, use it to explore different concepts related to area, perimeter, and surface area. For example, you can measure the area of each shape individually, calculate the perimeter of the entire character, or compare the surface area of different characters.

Using Minecraft as a learning tool can be a fun and engaging way to teach students about math concepts. By building a cardboard Minecraft character and exploring its dimensions, students can gain a deeper understanding of area, perimeter, and surface area.

Topic: Minecraft Cardboard Character Build.

Interested in more classroom craft items check out the classroom category.

Filed Under: Classroom, Math Projects Tagged With: #cardboard, #DIY, #Minecraft, #Virginia Math Standards

How to Make a Super Mario Red Toad Loot Bag

June 29, 2016 by rautry

Add Super Mario flair with these handmade Super Mario Red Toad loot bags are made from brown paper bags and red cardstock, featuring Toad’s signature white spots.

%filemane%

What You Need:

– Brown Paper Bags

– Red, Beige and Brown Cardstock or Construction paper

– Double Sided Tape or Glue

How to Make Super Mario Red Toad Loot Bags:

1. First take your red cardstock and fold in half and fold in half again. Draw out your top of the Mushroom and then cut.

2. Find something round like the bottom of a cup and trace out your circles onto the beige cardstock. Cut the circles out. Half of the circles will be cut in half.

3. Using Double-sided tape attach a full circle in the middle of the mushroom top. With a cut circle attach them to each side by the middle circle. Cut the excess that overlaps the mushroom top.

4. Take the brown cardstock and fold a couple times and again trace out your patter of a elongated oval. These are the eyes for the Green Toad loot bag.

5. Open up the Brown Paper Bag and fold the top 2 times like you are folding your kids lunch bag. Attach the mushroom top.

5. Using double-sided tape attach the eyes.

That is it! All Done. Super Simple and Easy.

Need more decoration ideas on a Super Mario Party? Check out my ebook below.

Topic: Super Mario Red Toad Loot Bags

Filed Under: Dollar Tree, Party Decorations Tagged With: #DIY, #DIYDecorations, #SuperMario

Products

  • Household Handbook Household Handbook: Your Complete Home Management Binder $21.99 Original price was: $21.99.$9.99Current price is: $9.99.
  • Princess Tiana Tiara Princess Tiana Tiara SVG $0.99
  • Shaun The Sheep SVG Shaun the Sheep SVG Invitation $0.99
  • Super Mario Invite Super Mario SVG Invitation $0.99
  • Minecraft Favor Bag Minecraft Creeper Invitation $0.99
try.hpinstantink.com/cmfvfj

Copyright © 2025 · Genesis Framework · WordPress · Log in