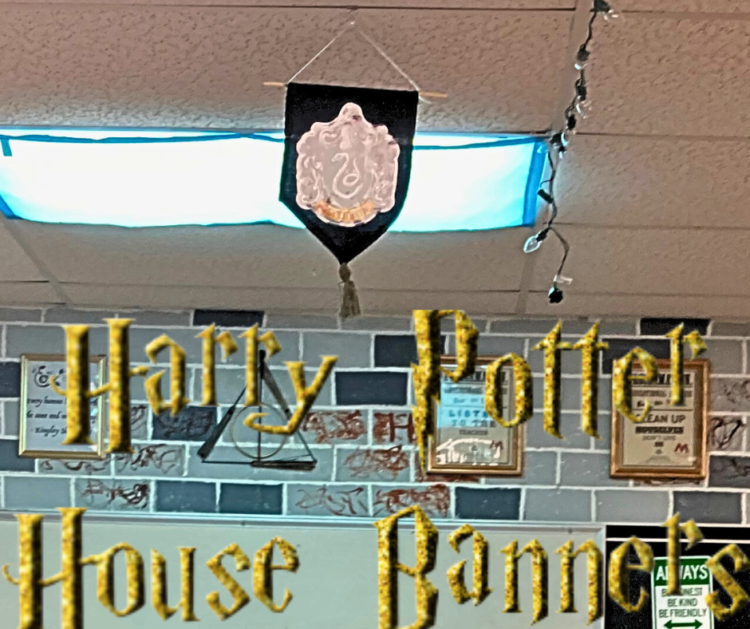
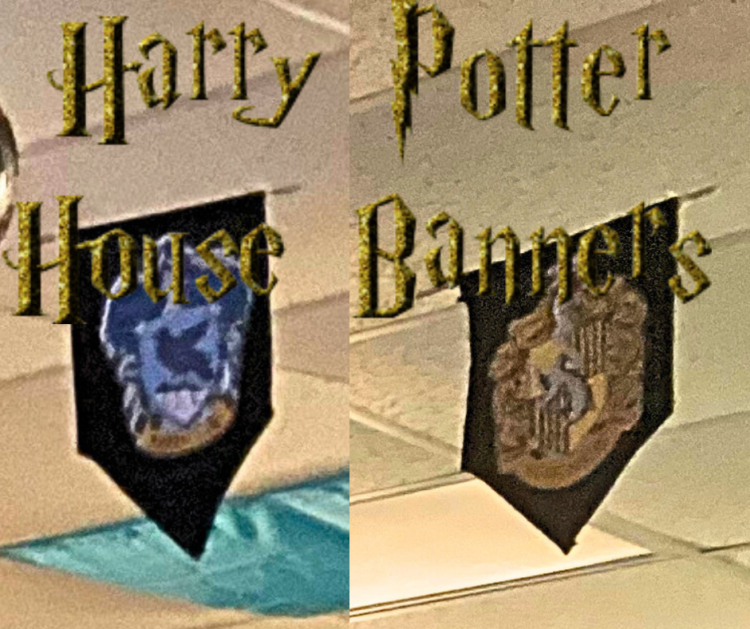
Creating Harry Potter house banners can be a fun and creative way to decorate your space, whether it’s for a Harry Potter themed party or just to show off your love for the series. Here is a tutorial on how to make your own Harry Potter house banners:
Collect your materials to create your own Harry Potter House Banners

Materials:
- Four pieces of fabric in the colors of the four Hogwarts houses (Gryffindor: red and gold; Hufflepuff: yellow and black; Ravenclaw: blue and silver; Slytherin: green and silver) or black like the ones I created.
- Iron-on transfer paper or Cardstock and laminator, lamination sheets
- Scissors
- Printer
- Iron or Hot glue
- Twine or ribbon or yarn in red, yellow, blue and green
- Sewing machine or needle and thread
- Dowel Rods
- Fishing Wire

Follow below to create Harry Potter House Banners.
Instructions:
- Begin by measuring the size of the banners you want to make. Cut the fabric pieces to your desired size. A standard size for a banner is around 12 inches wide by 18 inches long, but you can adjust the size to your liking. I folded mine in half to create a triangle bottom.
- Using a computer, find the house crest images for each of the four Hogwarts houses. Resize them to fit on your banners, and print them out onto the iron-on transfer paper or cardstock. If you are printing on cardstock I recommend laminating the house crests and then cut. Make sure to cut two of each, one or each side of the banners.
- Cut around each of the crests, leaving a small border of transfer paper around the edge. If you printed on cardstock make sure to cut as close to the edges as possible.
- Following the instructions on the transfer paper package, iron each crest onto the corresponding color fabric piece. If you laminated the house crests then hot glue them to the banners.
- Once the crests have been transferred onto the fabric, trim any excess transfer paper from the edges.
- Cut a small slit at the top of each banner to thread the twine or ribbon through. Fold over the top edge of the banner about 1 inch and sew it down to create a pocket for the twine/ribbon. Alternative: Fold over the top edge of the banner and sew across to make a pocket for the dowel rod to pass through. Place the dowel and glue around the ends of the banner on each side so the banner does not slide.
- Thread the fishing wire, twine or ribbon through each banner and tie a knot at each end to create a hanger.
- Hang your banners on a wall, above a doorway, or wherever you choose to display them. Enjoy your Harry Potter house banners!
My banners are hung in my classroom above the tables for each house. I have a grid ceiling and used a paper clip attached to the fishing wire and slid them on the metal frame.
Optional: You can also add additional embellishments to your banners, such as gold tassels or fringed edges. I used yarn from Dollar Tree in the colors of red, blue, green and yellow corresponding to the house banner and hot glued them to the edges of the banners. Use your imagination and have fun with it!
Be sure to check out other Harry Potter Classroom
Topic: Harry Potter House Banners Tutorial
