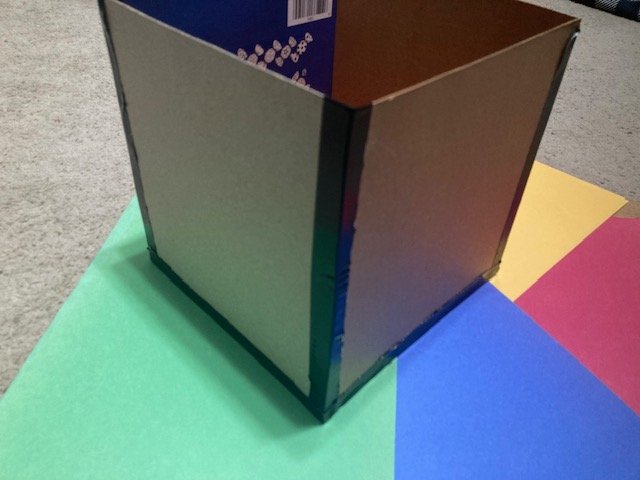
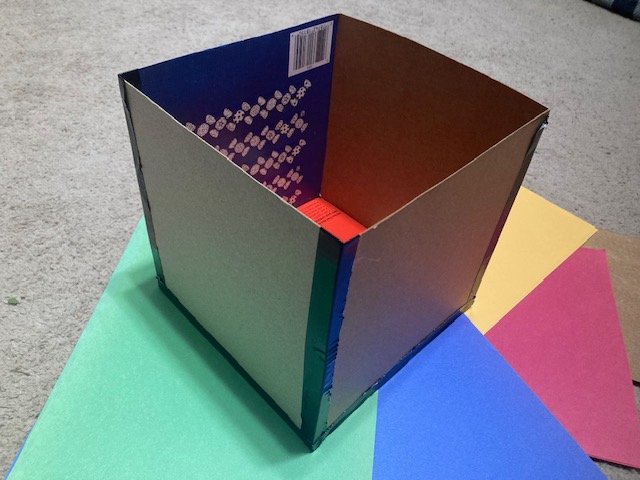
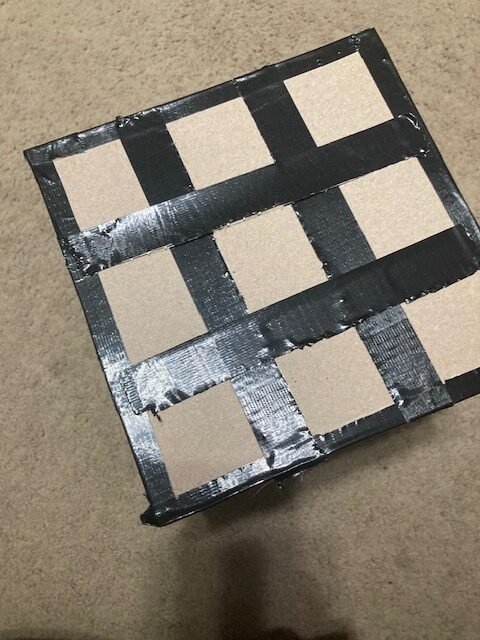
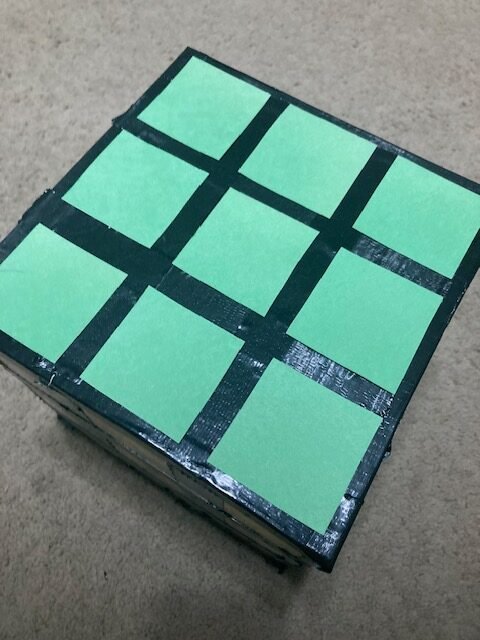
The Rubik’s Cube has captivated puzzle enthusiasts for decades with its intricate design and challenging gameplay. If you’re looking to take your Rubik’s Cube fascination to the next level, why not try building a giant Rubik’s Cube out of cardboard? Not only is it a fun and creative project, but it also makes for an eye-catching centerpiece or a unique addition to your game room. In this blog post, we’ll guide you through the step-by-step process of creating your very own giant Rubik’s Cube using readily available cardboard and simple tools. Let’s get started!
Materials Needed:
- Large sheets of cardboard
- Ruler or measuring tape
- Utility knife or scissors
- Pencil or marker
- Cutting mat (optional but recommended)
- Adhesive (glue or tape)
- Acrylic paint (various colors)
- Paintbrushes
- Clear varnish or sealer (optional)
- Patience and enthusiasm!
Step 1: Planning and Design Before diving into the construction process, it’s essential to plan out the dimensions of your giant Rubik’s Cube. Decide on the desired size, keeping in mind the available space and the materials at hand. A typical Rubik’s Cube consists of 3x3x3 smaller cubes, so you’ll need to determine the appropriate scale for your giant version.
Step 2: Cutting the Cardboard Measure and mark the dimensions of each smaller cube on the cardboard sheets using a ruler or measuring tape. Carefully cut along the marked lines using a utility knife or scissors. Ensure that each piece is square and identical in size. You’ll need a total of 27 smaller cubes (3 layers of 9 cubes each) to form a complete Rubik’s Cube.
Step 3: Assembling the Cube Begin by assembling the first layer of smaller cubes. Apply adhesive (glue or tape) along the edges of the cubes to connect them, ensuring they are aligned correctly. Repeat this process for the second and third layers until all 27 smaller cubes are assembled together to form the complete Rubik’s Cube structure. Allow the adhesive to dry completely.

Step 4: Painting and Coloring Now comes the fun part! Paint each smaller cube in different colors to resemble a standard Rubik’s Cube. You can use acrylic paint and a variety of brushes to achieve the desired effect. Refer to a solved Rubik’s Cube or customize the colors to your liking. Let the paint dry before proceeding.


Step 5: Finishing Touches To protect your cardboard Rubik’s Cube and give it a polished look, you can apply a clear varnish or sealer. This step is optional but recommended, as it adds durability and enhances the overall appearance of the cube. Allow the varnish to dry completely.

Step 6: Enjoying Your Giant Rubik’s Cube Congratulations! You’ve successfully built a giant Rubik’s Cube out of cardboard. Now it’s time to put your problem-solving skills to the test and enjoy the satisfaction of solving the puzzle on a grand scale. Challenge your friends and family or use it as a decorative piece to add flair to your living space.
Building a giant Rubik’s Cube using cardboard is a fantastic DIY project that combines creativity, craftsmanship, and a love for puzzles. By following these steps, you can create an impressive centerpiece or conversation starter that showcases your dedication and enthusiasm. So, gather your materials, unleash your creativity, and embark on the journey of constructing your very own giant Rubik’s Cube. Happy solving!
