How to Make a Dora Backpack Piñata
Everyone needs a Dora Backpack Pinata for their Dora Theme Party! This is easy to make and budget friendly. What […]
How to Make a Dora Backpack Piñata Read More »
Fun and affordable way to spice up your next party? Follow these easy homemade pinatas step-by-step tutorials that will fit any theme.
Everyone needs a Dora Backpack Pinata for their Dora Theme Party! This is easy to make and budget friendly. What […]
How to Make a Dora Backpack Piñata Read More »
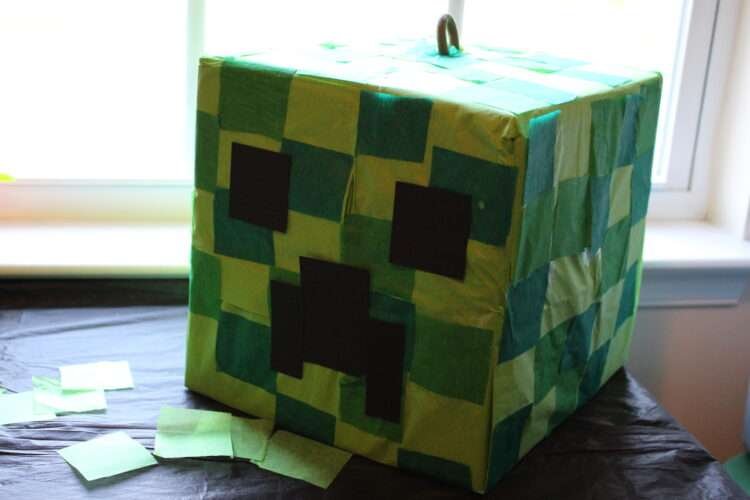
My sons are great at picking out their favorite theme for their birthdays and some odd ones like Rio and
Minecraft Creeper Pinata Read More »
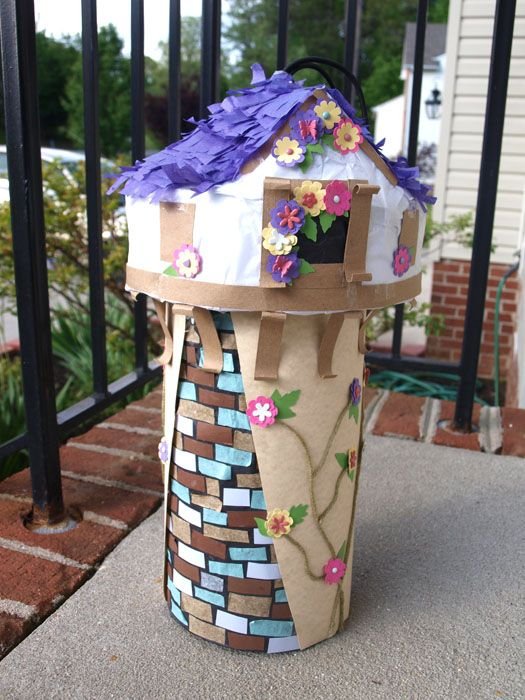
Embark on a journey to create a magical centerpiece for your next celebration with our Rapunzel’s Tower Piñata tutorial. Inspired
Rapunzel’s Tower Piñata Read More »
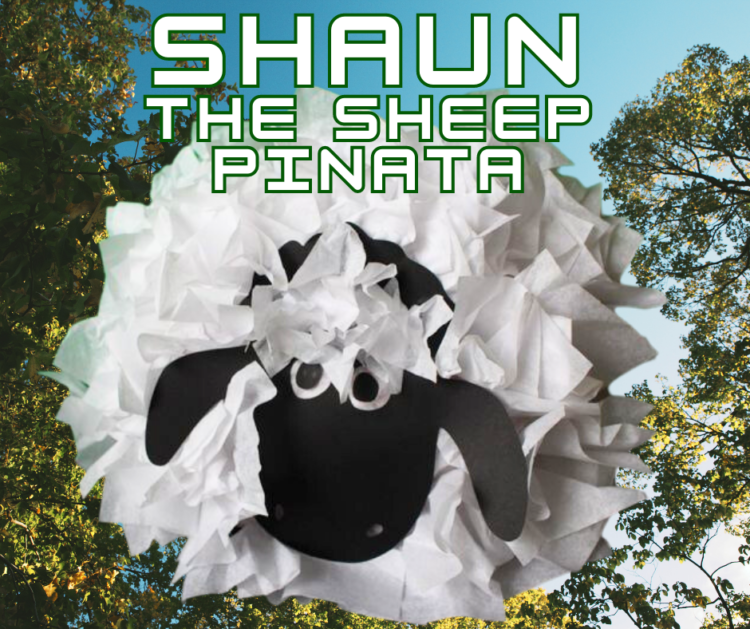
Shaun the Sheep Pinata What you Need: How to Make Shaun the Sheep: Step 1 Get your supplies together. You
Shaun the Sheep Pinata Read More »

Baymax Pinata Are you looking for an easy DIY Big Hero 6 Decoration Idea? Consider making your very own Baymax Pinata. This
Baymax Piñata Tutorial Read More »
Are you throwing a Batman-themed party and looking for a fun DIY activity that your guests will love? Why not
Batman LEGO Pinata Tutorial Read More »
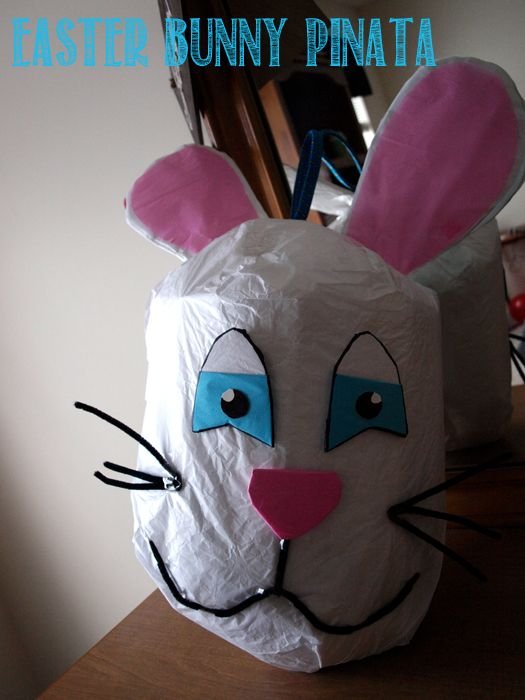
Easter Bunny Pinata Tutorial: Learn how to craft a festive and fun Easter Bunny pinata with our step-by-step guide. Perfect
Easter Bunny Piñata Tutorial: A Fun and Easy DIY Craft for Kids Read More »
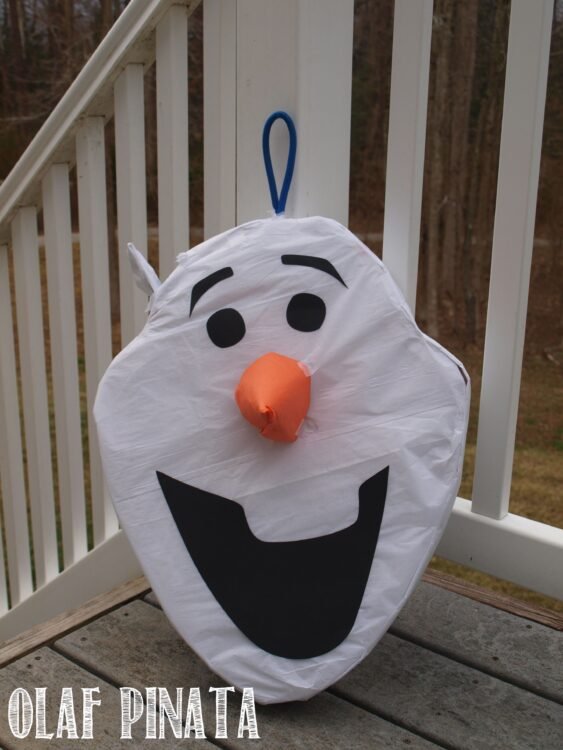
Olaf Pinata Tutorial Olaf Snowman Pinata is great for Disney Frozen theme party. Olaf the Snowman from Frozen has made the movie a wonderful
Olaf Pinata Tutorial Read More »
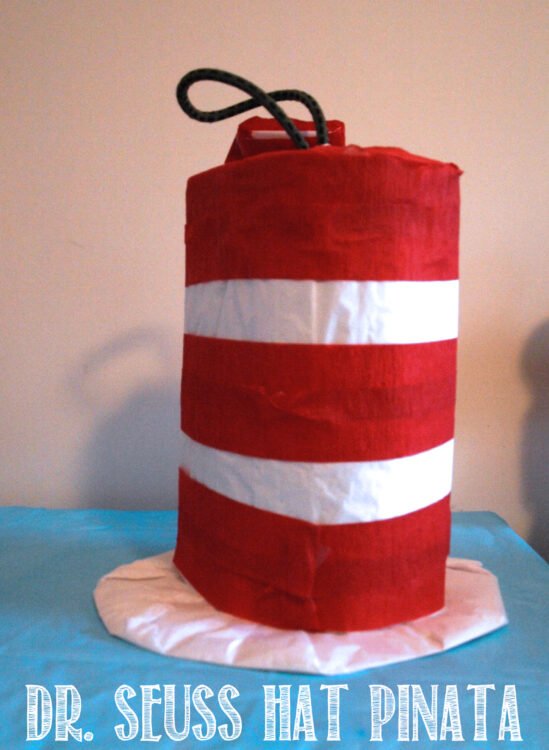
Making a Dr. Seuss hat pinata is a fun and creative way to bring some whimsy to your next party
Dr. Seuss Hat Pinata Tutorial Read More »
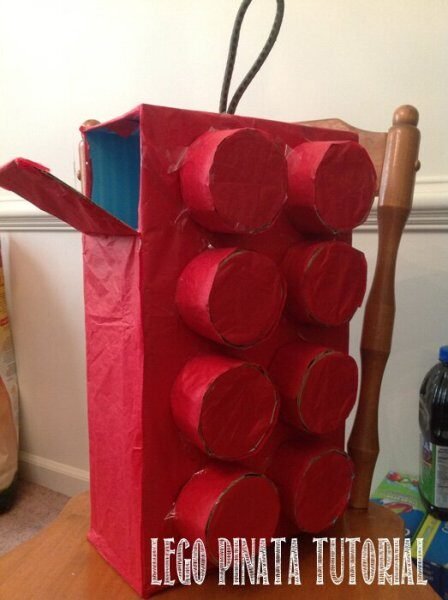
Do you have a LEGO fan in the house. Do you tend to step on the LEGOs? Ouch they hurt
LEGO Pinata Tutorial Read More »