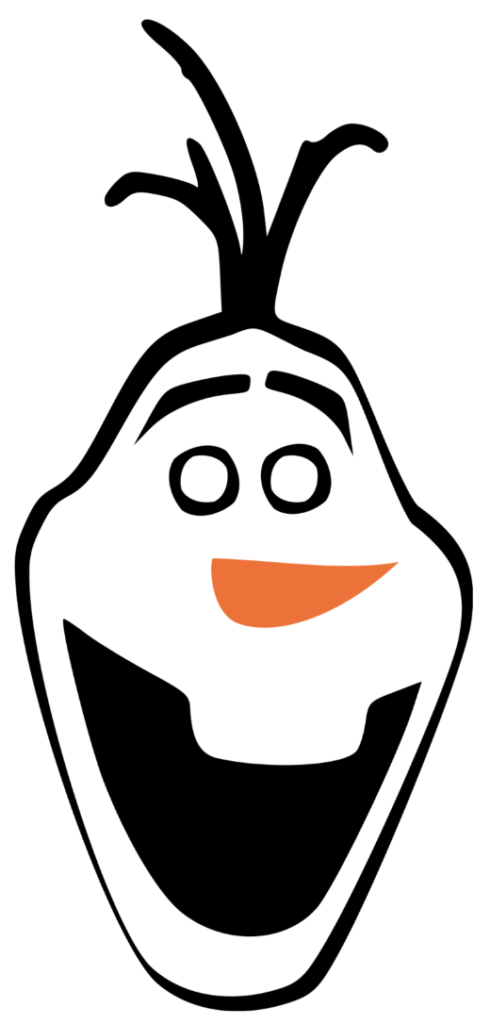
Are you have a Frozen party soon? Do your kids love Olaf? He stole the heart of many, didn’t he? Be sure to check out other awesome Frozen Party Ideas. These Olaf Invitation Tutorial are simple and easy to make.
Olaf Invitation Tutorial – Frozen

Olaf Invitation Tutorial – Frozen
Are you have a Frozen party soon? Do your kids love Olaf? He stole the heart of many, didn’t he? Be sure to check out other awesome Frozen Party Ideas.
You may also be interested in making your very own Olaf Snowman Pinata.
What you Need:
– White Glittery Cardstock
– Black, Brown and Orange Cardstock
– Glue/double sided tape
– Googly eyes (optional)
– Orange Pom Pom (optional)
How to Make:
1. First cut out all your pieces to make your Olaf invitation. The shapes are available in the Moms Saving Money Store.
Take your black base to be ready to have the other pieces added.
2. Take your white Olaf Snowman face and glue onto the black base. Make sure to leave the same amount around of black showing.
3. Take your black Olaf Snowman mouth and thoroughly add glue to the back and position accordingly.
4. Next you will want to add on the eyes. You can exchange the paper eyes for googly eyes to make them extra fun! I personally like the googly eyes on Olaf Snowman Invitations.
5. Glue on your nose. You can exchange the paper nose for an orange pom pom as pictured below.
6. Now add your eyebrows above the eyes. You may even want to tilt them slightly so they will fit on the face and look good!
7. Cut out an extra white face for the back and glue on and write all your information for your party. You can use the print and cut feature on the Cameo Silhouette.
That is it! You are done!
If you would love to have them made for you. 8ct with envelopes are available in the Moms Saving Money Store.
